Bob Humphrey
We have all encountered that odd person that does not like venison. Perhaps they have never tried it; or possibly, they have had a bad experience. Alternatively, maybe, it just does not suit their palate. There is not much you can do for the latter, but there are some relatively simple steps you can take to ensure a more positive experience for someone, whether it is their first or simply their next time tasting it.
1. Proper Shot Placement

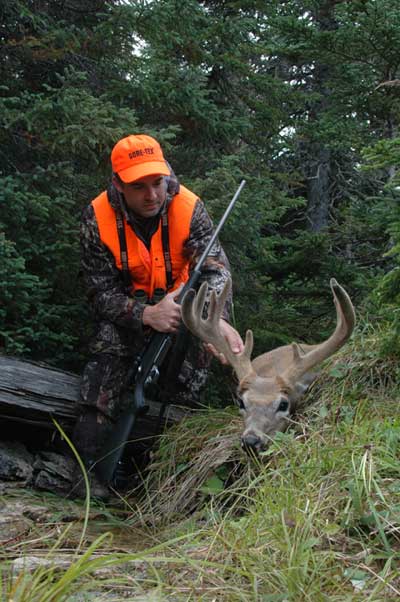
Practice and proficiency can go a long way toward improving the final product. Your objective is to reduce the animal to possession as quickly and efficiently as possible by making a single, lethal shot. Prolonged suffering and stress result in a buildup of lactic acid and other chemicals that will taint the meat and possibly make it tougher.
A shot to the heart-lungs area is lethal and minimizes damage to the meat. The shoulder shot, if properly placed, will drop a deer on the spot, but will damage some meat. The same applies to a neck shot. A gut shot is not a lost cause but will result in a poorer product. We all make mistakes but if you practice, and pass up marginal shots you can significantly reduce your margin for error.
2. Prompt Recovery
The quicker you recover the deer, the better. Blood pools up in the chest cavity and bacteria will flourish inside the warm, wet body cavity, all of which can cause spoilage. Scavengers may scrounge some of your hard-won prize. The sooner you can open and empty the chest and body cavity, removing the innards and cooling the body, the better.
3. Proper Field Dressing
How you go about this process also makes a difference. The first cut - from the groin to the brisket, or vice versa - is often the most important. Make sure you pull the skin up and away from the innards so you do not cut the paunch, which will result in stomach contents spilling out and spoiling some meat. Ring the vent (anus) and pull it back through the body cavity. Then cut around the diaphragm, reach up into the chest and cut the esophagus and windpipe, and all the innards should come out in one mass. Some people will cut all the way to the vent and even split the pelvis to remove the lower intestine and bowel. That is not necessary, and exposes some of the inner rump meat to dirt and debris when transporting. Turn the deer over and upright to drain the body cavity, then transport. (Visit this article for a more detailed explanation of field dressing.)
4. Handle/Drag With Care
How you get it home can also help with a better final product. It is better if you can transport by vehicle, but if you have to drag a ways, avoid mud and water. Puddles and streams are rife with bacteria. Dragging over stumps and deadfalls can also damage or bruise meat. Long drags on rough ground can wear the hide down and expose flesh. Do what you must to get it out of the woods but remember, it is food you’re transporting.
5. Hang It
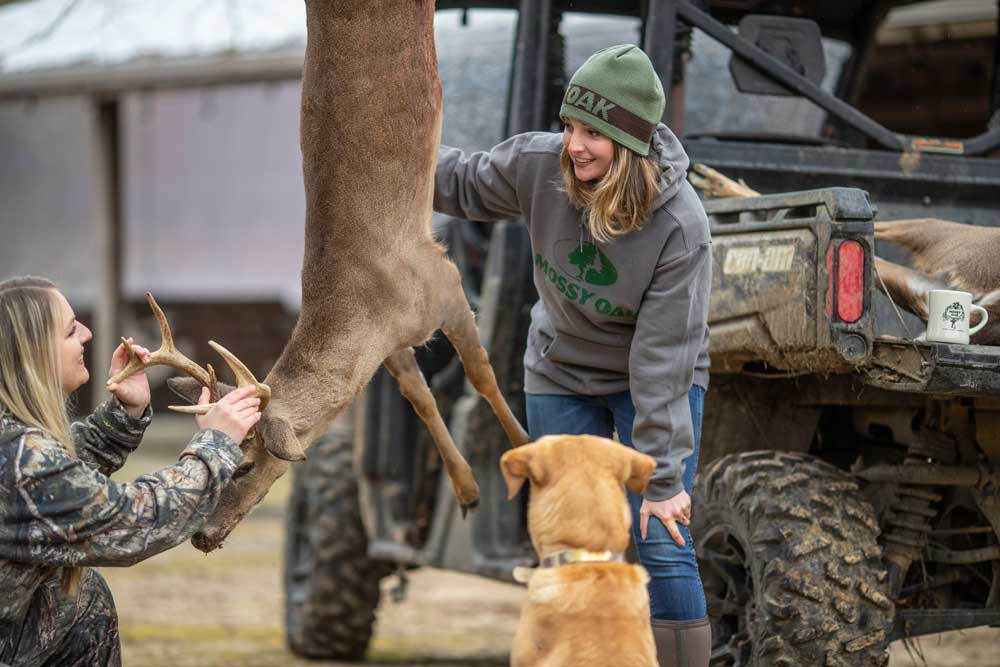
Research and the test of time have all shown that hanging your deer and aging the meat can significantly improve quality. Over time and under the right conditions, muscle fiber will break down and the meat will be tenderer. The right conditions include above freezing but still cool enough to prevent bacteria. Around 35-38 degrees is optimum, but if you do not have a walk-in cooler, you can still hang your deer outside if you have cold nights and cool days. Leaving the hide on will reduce exposure to insect pests and prevent the meat from drying out. If you skin before hanging, cover the carcass with game bags. That will protect it but still allow it to cool and age.
6. Processing
The easiest way to handle a deer is take it to processor. However, that can get pricey. Demand is high, which can result in longer waits and even being turned away. Besides, it is more satisfying to do it yourself; and you have more control over the final product. It would take an entire blog to describe the whole process but the gist of it includes removing all the fat and as much silver skin and tendons as possible and separating the meat into individual muscle groups, then package and freeze in larger portions. Do not cut individual steaks until you are ready to cook them.
The above are basic guidelines and directions that should help you end up with a better end product. The key ingredient is a healthy dose of common sense. From the time you enter the woods, consider how the steps and actions you take can influence the final product.

