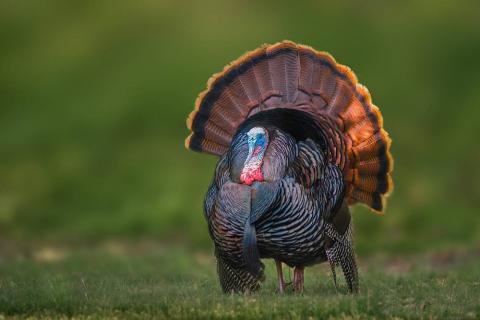
If you are lucky enough to harvest a wild turkey, the next step is to prepare it for the dinner table. Your options for cleaning a turkey are skinning or plucking with several variations in between. One of the most common and easiest ways is to skin the turkey and remove the meat in a way that it can easily be cooked to perfection. Before you get started you will need a good sharp knife like the 6-inch Bubba Blade Turkinator, a clean flat surface, gallon-size freezer bags and a garbage bag to discard the remains when you are done. Below are six steps that can get that juicy turkey on the table in no time.
Step 1 – Removing the beard: If you want to save the beard you will need to remove it first. The beard can be pulled away from the breast or carefully cut away. After removing you will need to remove any excess tissue.
Steps 2 – Removing the spurs: To remove the spurs simply apply pressure to the turkey knee joint until the joint pops loose. After the joint pops loose, you should be able to easily separate the skin with a sharp knife.
Step 3 – Removing the fan: Remove the fan by holding on to the base of the tail and cutting just below the lump of meat that holds the fan feathers together.
Step 4 – Skinning: To skin your turkey start by laying down the turkey breast side up. Make a small cut through the skin along the top of the breast bone. Slowly pull the skin away from the breast and legs.
Step 5 – Removing the breast meat: Locate the breast bone and make a cut down one side of the bone to loosen the breast meat. Pull breast meat away from bone while cutting along the breast bone to remove in one piece. Repeat this process on the other side of the breast bone to remove the other breast.
Step 6 – Removing the leg and thigh meat: With the turkey placed on its back, apply pressure down on the thigh until you feel the joint pop loose. Run knife between thigh and turkey body until the leg quarter releases from body.


