Barry W. Smith | Originally published in GameKeepers: Farming for Wildlife Magazine. To subscribe, click here.
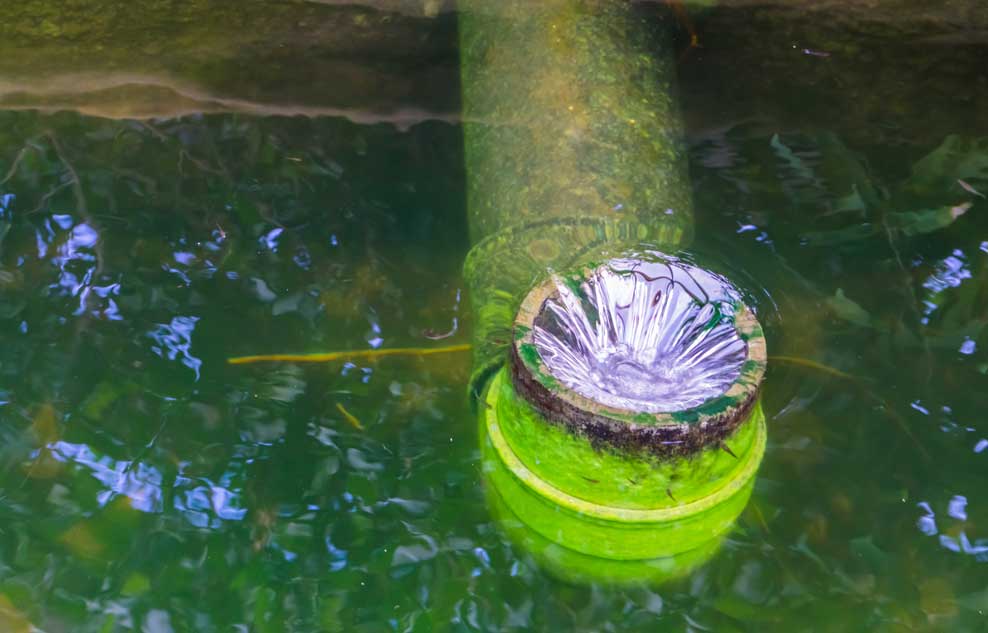
Fall is an excellent time of year to consider any construction work on your lake or pond. It is typically the driest time of year and water levels are often lower than normal. It is a great time to consider deepening shorelines, building a pier, building a boat ramp or installing a spillway siphon.
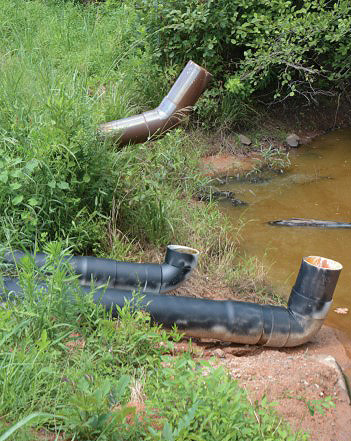
helps aerate the anoxic water that is pulled from the
bottom of the pond during high rain events and
prevents scouring a hole below the dam. The
discharge also extends past the base of the dam,
which prevents endangering the integrity of the dam
during high flows.
Spillway siphons are a great addition to your lake if your primary spillway is a pipe through the dam or your emergency spillway. Many ponds and lakes built in the 50s through the 70s had primary spillways consisting of pipes through the bottom of the dam and vertical risers built with corrugated metal, whose life expectancy was 25 to 30 years. Many of those lakes have had problems with deteriorating risers that leak and prevent the lake from maintaining a water level. These self-regulating siphons are easy to install without draining the lake. The fall is a perfect season to complete this project.
Spillway siphons have many advantages, the first of which is if constructed properly, they cut on and off automatically. The spillway design consists of a pipe through the dam, the bottom of the pipe is at normal pool elevation. The lake side of the pipe is angled toward the bottom to a depth that allows the water from the bottom of the lake to be drawn off during times of high water. This improves water quality as the stormwater is usually full of suspended sediment, dissolved solids and the temperature of the storm runoff is often cooler than the surface water, making it layer on the bottom. This keeps the clean water in the top layer of the lake, providing more food for fish and providing more opportunities for other recreational activities, such as swimming and boating during the summer.
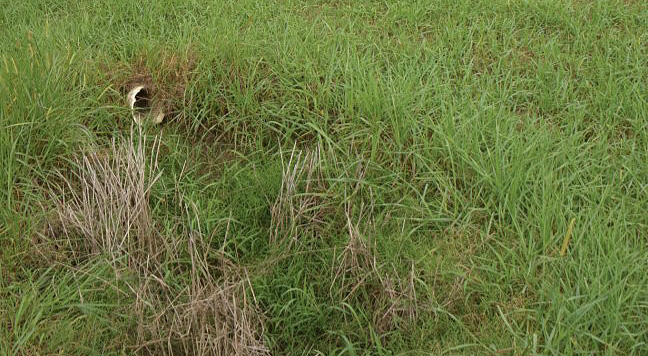
The pipe on the backside of the dam needs to be a third longer than the front side to make the siphon work properly. This pipe can be buried in the backside of the dam so that the area can be mowed with a tractor and bush hog. This will also prevent the pipe from deteriorating from the sun’s uv rays.
The key to the success of this siphon system is the air vent that is installed on the lake side with the opening at the normal water level. As the water begins to rise, it seals off the vent and as the pipe fills with water the siphon starts automatically. Once the water has drained to normal level the air vent is exposed and the siphon automatically stops. The diagram shows the details of the construction.

siphon systems while employed by the USDA, Natural
Resources Conservation Service. The proper size of the
siphon is determined by the lake size and its watershed,
according to Gates. This is very important for the siphon to
work properly and carry excess runoff to prevent water from
going over the emergency spillway except in times of a
25-year rain event.
The size of the siphon is usually determined by the size of the lake and its watershed. There are a number of publications that can help size the pipe, depending on how much storm storage the lake has, that is the difference in the full pool elevation and the emergency spillway elevation. Ideally, you would want a pipe large enough to remove water that could be generated during a 25-year rain event before flowing out the emergency spillway.
Bobby Gates, who has had a long career with the USDA, Natural Resources Conservation Service, has supervised hundreds of siphon spillway systems on lakes and ponds of all sizes. “There are several details of construction that are very important.” says Gates. “The backside pipe should be installed at an angle so that the discharge is away from the base of the dam, protecting the dam’s integrity. Also, a 45 elbow should be attached to the end of the discharge to help aerate the water and prevent a hole from being blown out from the pressure of the discharge. If the discharge area is where you plan to mow, the pipe should be protected by a series of metal fence posts to keep it out of harm’s way from a bush hog.” Gates also note that siphons constructed on lakes in climes colder than the southeast should have a weep hole drilled in the elbow to prevent it from freezing and plugging the end of the discharge pipe.
Siphon spillways may also be used to lower lakes for purpose of wildlife management or weed control. You can attach a flexible hose to the end of the siphon tube and automatically draw the lake to a desired depth. It is relatively simple to manually start the siphon by simply capping the discharge pipe and pumping the backside of the siphon full of water through the fitting above the vent pipe, see diagram for details. Once the pipe is full, close the vent and remove the cap from the end of the discharge pipe, stand back, the water is coming!
Les Ager, a Georgia fisheries biologist from Hawkinsville, Ga. has installed many siphon spillway systems in lakes that he manages. “If the lake is full I like to use a small generator to power a shop vac to start a siphon. It does not take much to start the water through the main pipe, then when the pipe is full, remove the cap and the siphon is started. We use draw downs for management purposes during the early fall.” “I like to use a four inch vent pipe on most of my siphons,” says Ager, “ and on a 10- or 12-inch siphon I put a T on the intake and run 3 feet of pipe on each side to decrease the size of the vortex. A large siphon with a single intake can create a huge vortex!” Ager likes to use as large a pipe as practical for his siphons, “If you are running a 100 feet of pipe with a 20 foot head, a 10-inch pipe will move almost three times the volume of a 6-inch,” states Ager.
There are many advantages of a siphon spillway system, the fall is a great time to install one!


