Bill Gibson, GameKeeper Kennels | Originally published in GameKeepers: Farming for Wildlife Magazine. To subscribe, click here.
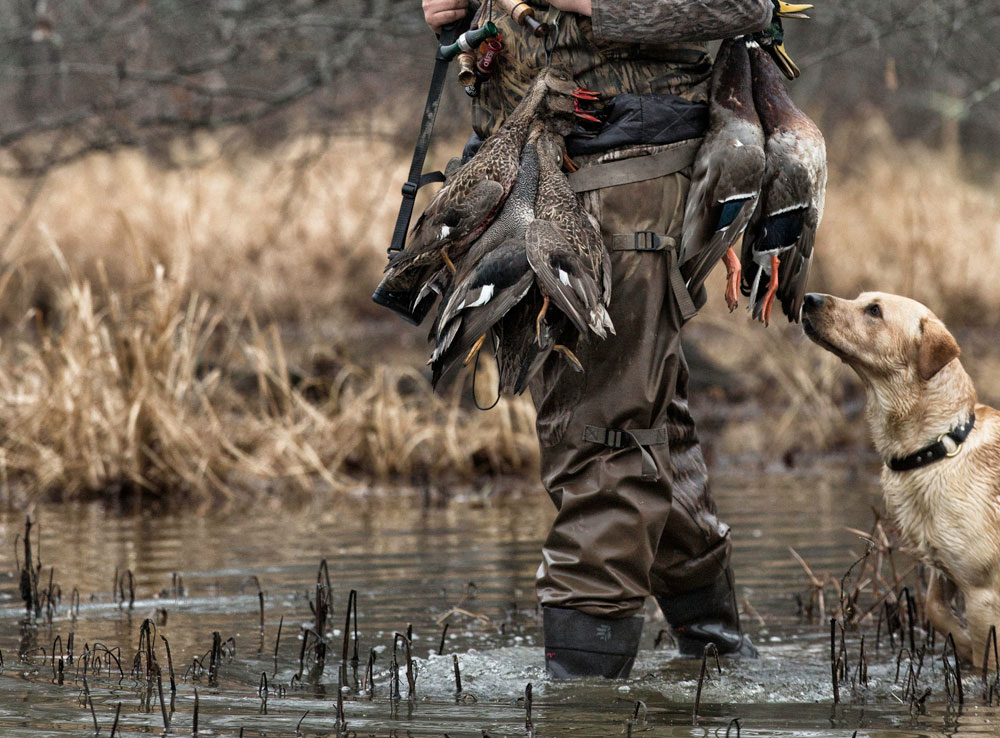
For those who don’t know, a heeling stick is similar to a riding crop but, is longer and normally has a leather popper attached to the end. It is not used to punish or harm the dog. Instead, it is used to speed up the dog's response to the sit command, to aid in training the dog to sit to flush, and to train the proper heeling position. Heeling sticks are available from any gundog supply company and I find them to be a useful tool in training my gundogs.
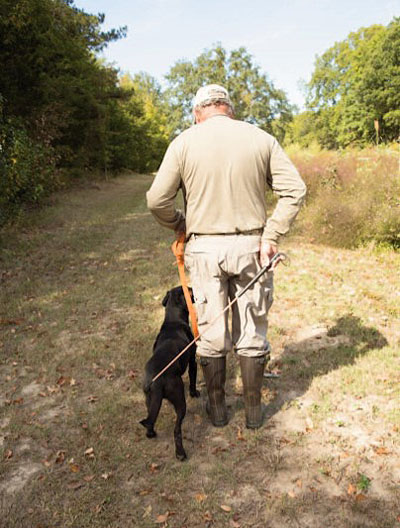
stick in your right hand and behind your back in the vertical
position. Command “heel,” walk a short distance, stop and
give the sit command while simultaneously letting the
heeling stick drop so that it lightly contacts your dog's flank.
If you have carefully adhered to the guidelines for teaching your pup the sit command at feeding time, taught your hunting dog to heel on a lead, reinforced the sit command, and transitioned from a verbal sit command to the sit whistle, you are now ready to begin the process of speeding up the response to the sit command and to teach him/her to sit when you stop walking. Why would you do this? Because, this early training will pay dividends as you later progress to sitting on the flush in upland situations and flush shooting waterfowl during the season. This is accomplished simply by properly using the heeling stick.
The next question is “how do you start?” With the lead properly placed on your dog and your dog sitting on your left side, hold the stick in your right hand and behind your back in the vertical position. Command “heel,” walk a short distance, stop walking and blow the sit whistle while simultaneously letting the heeling stick drop so that it lightly contacts your dog's flank area.
Since the dog will not see the heeling stick coming, he/she will not flinch or recoil from the sight of the stick, but will feel a slight sensation when the stick very lightly contacts his/her flanks. Upon contact the dog will immediately sit. Because the stick will miss the dog’s flanks as the sit response is quickened, the dog will quickly learn that the tap can be avoided. The result is that, as you progress, the dog will learn to avoid the light tap of the stick by quickly sitting.
Repeat this drill two or three times a day for several days until you are satisfied with the timeliness of the response from your dog. Once you are satisfied with the response time, you will be ready to transition your dog from sitting on the whistle to sitting whenever you stop walking.
Teaching your dog to sit when you stop walking is basically accomplished in the same manner as speeding up the response to the whistle command. The transition is relatively easy. You do not give your dog a visual clue, a verbal command or a whistle command; instead, you just stop walking and simultaneously allow the heeling stick fall on your dog’s flanks. At this point your dog should associate the slight tap of the stick with the previously learned response and transition from this to sit when you stop. After several days of practice the young dog should automatically sit in the heel position when you stop walking. The tap from the heeling stick can then be eliminated.
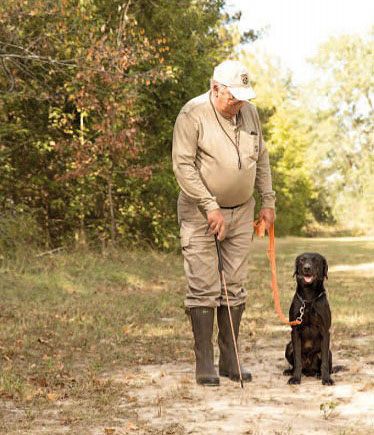
days until you are satisfied with the timeliness of the
response from your dog.
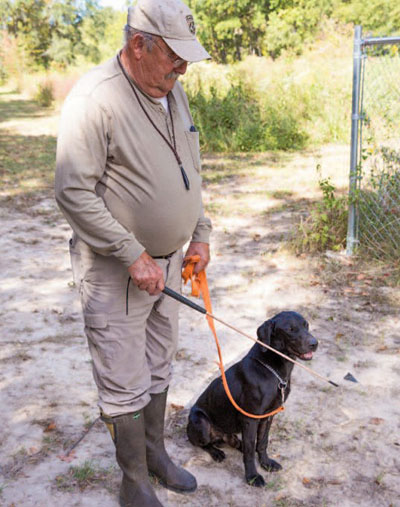
The heeling stick can also be used to assist you in training your dog to heel in the proper position.
My idea of heeling in the proper position is that the dog’s nose is aligned with and about six inches out from my left knee. Remember that when initially training the heel command you should:
1. Have your dog on lead at all times
2. Vary your pace from slow to fast to slow as you walk
3. Walk forward, backwards, and often reverse your direction of travel while keeping your dog’s nose at your left knee with the lead
4. Make frequent left and right turns
Assuming that your dog has been trained to focus on you as the handler, your dog should constantly be checking his/her position on your left knee and not looking around, sniffing the ground or focusing on other distractions. If your dog is not heeling properly wave the heeling stick in front of his/her nose or lightly tap him/her on the front of the chest. Either will keep your dog from advancing too far forward of your knee.
There are also other methods that can be used to make heeling corrections. If your dog, for whatever reason, advances too far forward of your left knee, simply reverse your direction of travel, lightly snap the lead and command “heel.”
Or in the alternative, without any command or warning, make a quick turn to your left, because if your dog is too far forward, you will likely step on his/her foot and dogs definitely do not enjoy having their feet stepped on, and will immediately return to the proper heel position. This is also an excellent method to use to correct improper heeling by an older dog.
Remember, a dog that begins to disregard basic obedience skills will most assuredly become sloppy during retrieving drills by ignoring whistle commands and hand signals and as I put it, become “self-employed. You will find that going back and correcting obedience issues will also reinforce retrieving skills very quickly and in a positive manner.
Note: If your dog is not heeling properly wave the heeling stick in front of his/her nose or lightly tap him/her on the front of the chest. The heeling stick can also be used to assist you in training your dog to heel in the proper position. The dog’s nose should be aligned with and about six inches out from your left knee.


