Serena Juchnowski
To some, optics mounting is simple, to others a conundrum. I never realized until I shadowed a gunsmith how many people outsource their optics mounting. Perhaps it’s the hassle, but it’s more likely many don’t have the right equipment. If you have one gun with a single scope and never plan to ever change the optic or mount another on any other firearm, this may be the way to go. Otherwise, it’s worth exploring for yourself.
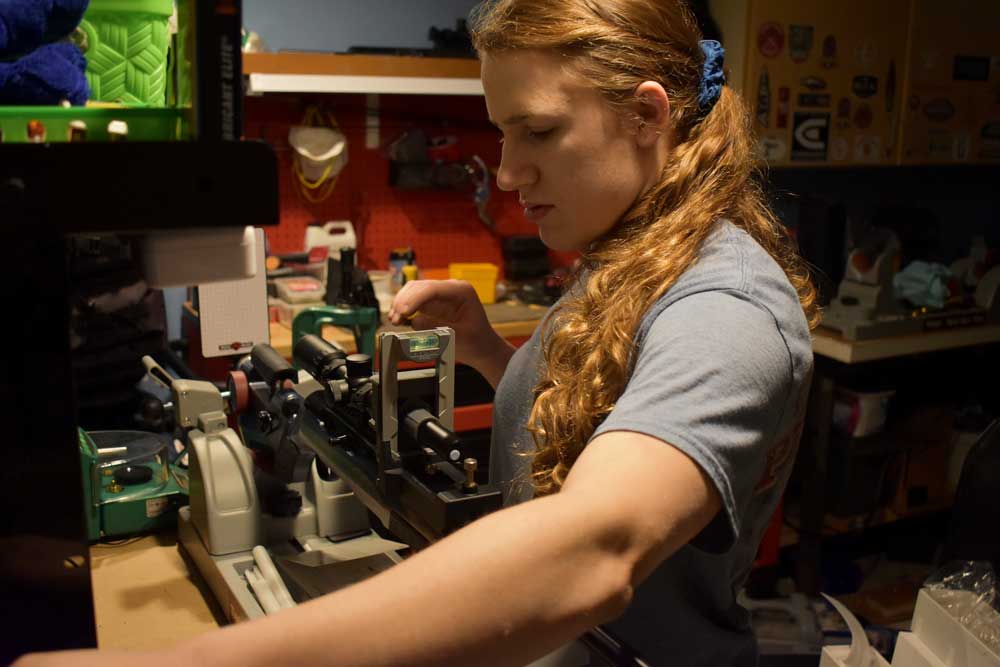
You will need some basic equipment: a firearm, scope, scope rings/mounting system, tools, a rest/vise and a way to level the gun. You can be a bit creative in some instances, but the process is much smoother with the right equipment. I use a Tipton Best Gun Vise. This vise is versatile and can be adjusted to fit a variety of long guns. I also am still collecting tools I would like to have, but I use a Brownells torque wrench, some bubble levels, and a Real Avid Level Right Pro.
Firstly, consider the scope and what you want to mount it on. You need the right hardware. Rings or a mount secure the scope to the action or barrel of the gun. Most often, scopes don’t come with rings. Ensure you buy the proper size rings or mount (rings connected by another piece of metal). The scope will have the diameter of the tube marked on it or the box which needs to match the rings. You also need to consider what kind of rings: dovetail or Picatinny. The answer to this lies in which mounting system is on the gun you wish to mount the scope on. Dovetail rails are smooth and thin whereas Picatinny rails are a series of raised rectangles. You can often switch the type of mounting system you have by adding mounting accessories. For example, I have a Henry Big Boy lever-action I recently mounted a scope to with an accessory Picatinny rail.
An Easy Guide to Rifle Scope Magnification
Height is another important consideration. This means how tall the rings are. This matters because the rings need to lift the scope high enough so it will not hit the barrel but not so high you won’t be able to get proper eye relief or see through the scope. There are some devices to assist with this, like the DNZ Products Rapid Height, but you can accomplish what you need with a tape measure or ruler and some estimation.
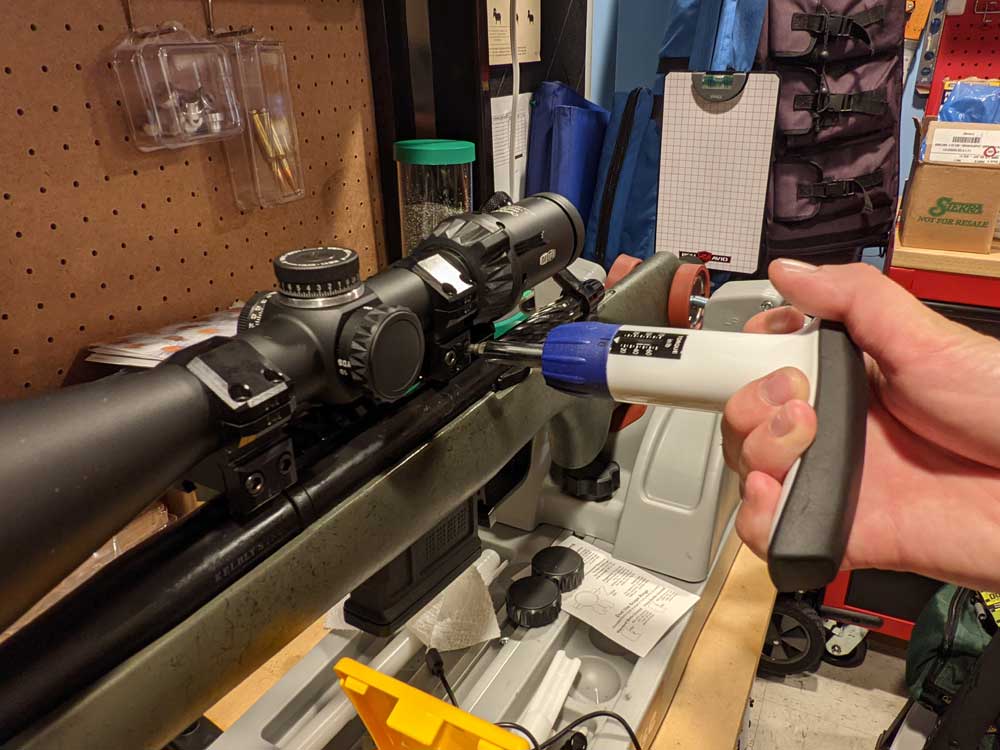
Rings come in different shapes and sizes but traditionally come in two parts. With the firearm secured in the vise, mount the bottom pieces to the appropriate rail on your firearm. Do not tighten them all the way, just enough so they won’t move. Carefully set the scope on top of these pieces and slide it forward and back until you can get proper eye relief. (You determine this by looking through the rifle with your cheek on the stock.) You may need to move the rings forward or backwards. When the rings are where you like, find the appropriate torque setting (in the ring manual or online) and tighten the rings to that setting. The Brownells torque wrench is adjustable to the single inch-pound and does most of the work for me. I set the number I want, find the magnetic tip that fits inside the hole of the screw, and tighten until it clicks. Most rings and scopes come with an appropriately sized Allen wrench, but it isn’t for torquing. Having the right torque settings ensures that the scope and bases will stay secure and not move during firing.
Place the top halves of the rings on the bottom halves with the scope sitting on the already secured bottom halves of the rings. Lightly turn each screw until it catches and alternate which screws you tighten. It’s advisable to tighten screws little by little so that you don’t strip the threads. Once again, find the proper size tip for your torque wrench and the proper torque setting. (It is likely different than the ones you already used.) Before fully torquing down the screws, it’s important to make sure your scope is square. In other words, the reticle should be parallel with the horizon. Merely tightening the screws will likely result in a scope with a reticle facing some random direction. This makes it hard to aim and depletes accuracy of subtensions.
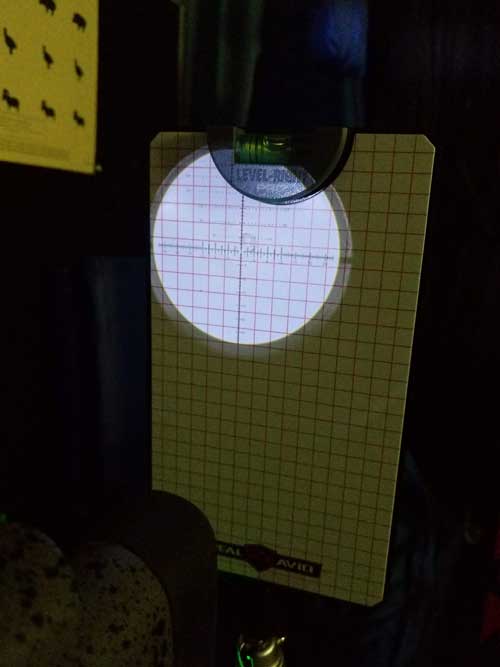
Use a combination of your eye and bubble levels placed on the top of the scope and firearm receiver to line up the reticle. I also use Real Avid’s Level-Right Pro system. It doesn’t work for lever guns, but does for most modern sporting rifles and bolt actions. This system uses a flashlight shone through the scope that projects the reticle onto a moveable grid. Visually line up the reticle with the lines on the grid and as long as both the bubble level on the grid and on the flashlight are also in agreement, the reticle will also be level. (Note: the receiver is not always 100% level so this method combats that.) Once the reticle is level, finish torquing the screws. Keep an eye on the reticle during this process to ensure it didn’t move.
With everything properly torqued, remove your gun from the vise and shoulder it. Do you have a full field of view? Do you need to crane your neck to look through the scope? If something doesn’t seem quite right, loosen the top ring screws and slide the scope forward or backward until you achieve the proper eye relief.
Tips to Efficiently Sight In Your Rifle
The process can be a bit frustrating at times, especially making sure the reticle stays level. Be patient and don’t give up. Make all adjustments in small rather than drastic increments for a more efficient and painless experience!


