Best Live Bait, Cut Bait, and Homemade Catfish Baits for Catfish Fishing
What You Need
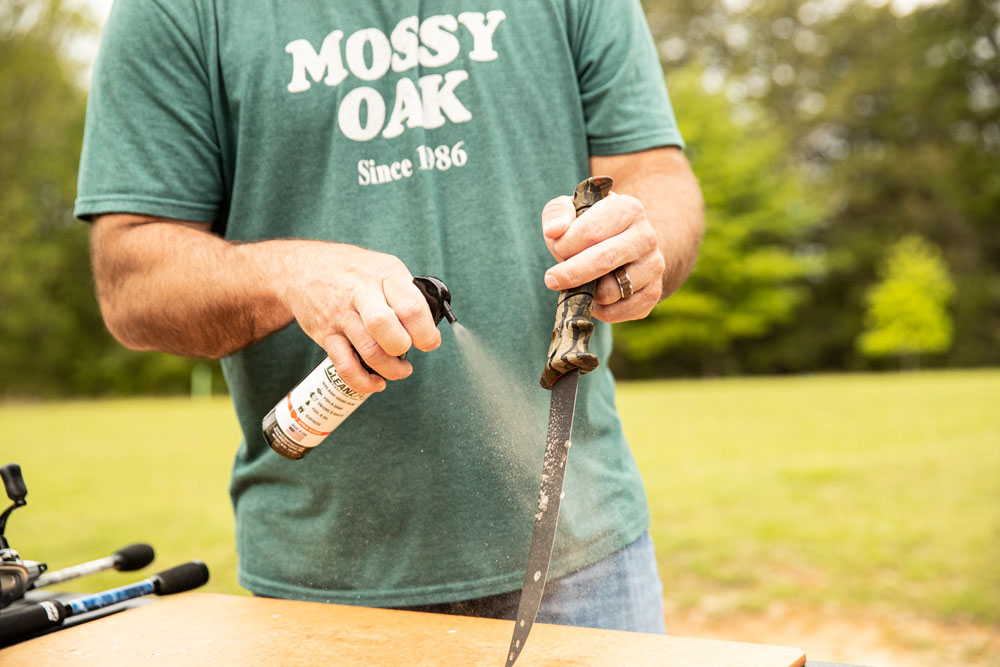
We will assume you know how to catch a catfish. Once the catfish has been caught, there are a few things you need to clean it. You can find these items at most department stores, sporting goods stores and even online. Here are the items you need:
1. Long cutting board
2. Sharp fillet knife
3. Bowl of clean water
4. Trash can
5. Catfish (two pounds and up are great)
6. Wire cutters or pruning shears
Let’s Get Started
Here is a step-by-step method that fishermen have used for generations:
1. Place the catfish flat on its stomach. You will notice pectoral fins on either side, just behind the gills and sticking straight out. These fins have the barbs that catfish are notorious for. The barbs make it hard to lay the catfish flat on its side. Cut them off flush to the side of the catfish with your wire cutters.
2. Next, lay the catfish on its side with the belly facing away from you. Locate the bone that runs from just back of the pectoral fin toward the back of the fish. You will notice a place where the bone stops and the soft flesh starts. Make a diagonal cut from the top of the head, angled slightly to the rear of the fish, in the soft flesh just past the bone.
3. Flip the catfish over and repeat on the opposite side. Find where the bone stops and the flesh starts. Then, make your diagonal cut, but stop when you hit the spine.
4. Now we will work our way down the top of the fish. Try to feel the spine and work your knife between the spine and meat. You will need to stay to one side of the dorsal fin. For the first few inches, your knife will only penetrate so far. The rib cage will stop you from going completely through the fish.
5. Once you have worked past the ribs, you will notice the knife easily penetrates further. Flip the fish on its side. Work your knife completely through the fish, as close to the spine as possible. The tip of the knife will stick through the bottom of the stomach. Work your way to the tail, but do not cut through the skin once you’re at the tail. Remember to keep your knife angled to the fish or risk wasting meat.
6. Flip the catfish on its belly. From the top of the head, spread the meat from the spine. Work your fillet knife between the ribs and meat. Don’t worry if this takes a few strokes to do. Once you have cut past the ribs, work your way along the spine to the belly of the catfish. When you are done, you should have a meaty flap held only by the skin at the tail.
7. Flip the catfish on its side and fold the skin/meat over the tail. With your knife angled down, work it toward the tail – just between the skin and meat – until the meat is completely filleted from the skin. You should check the fillet for any bones you may have missed. If you missed any, trim them off.
8. Some catfish have a thin lateral line/mud vein that runs the length of the fillet. Trim or cut that out. If there is a fatty layer along the top of the fillet, trim that off and you are done. Toss the fillet in a bowl or bucket of cold water.
9. Now, we need to repeat on the opposite side.
10. With the catfish on its belly, work down the spine, around the dorsal fin and to the end of the ribs.
11. Lay the fish on its side and slide the knife completely through. Then, work down the ribs and to the tail.
12. Lay the fish on its belly and work around the ribs and to the belly.
13. Lay the fish on its side and flip the flap of meat over. Fillet the meat from the flap of skin and trim. Toss the fillet in the bucket and you’re done.

No Guts, Just Fillets.
Like so many rites of passage, cleaning your first catfish can be a messy ordeal. Hopefully, you won’t have to clean your first catfish with your relatives or buddies critiquing you. If so, follow these 13 steps to navigate your rite of passage successfully. You will soon learn that this tried-and-true method will produce catfish fillets without the need to gut or skin the catfish. Of course, the more catfish you clean, the easier it gets. The most rewarding part of finishing this is the catfish plate at the end.


