The Immeasurable Mission
Todd Amenrud | Originally published in GameKeepers: Farming for Wildlife Magazine. To subscribe, click here.
Summer is a busy time for the gamekeeper. Turkey season and spring planting are complete, but there’s still plenty to do. Let’s face it, there’s always loads to do for a gamekeeper. Here are a few of the most important.
Kill Weeds in your Food Plot
Keeping ahead of the summer weed cycle and controlling noxious or invasive weeds is a tedious, but essential task. This is especially important in dry or drought conditions since all those vile weeds are robbing moisture, along with sunlight and nutrients from beneficial plants.
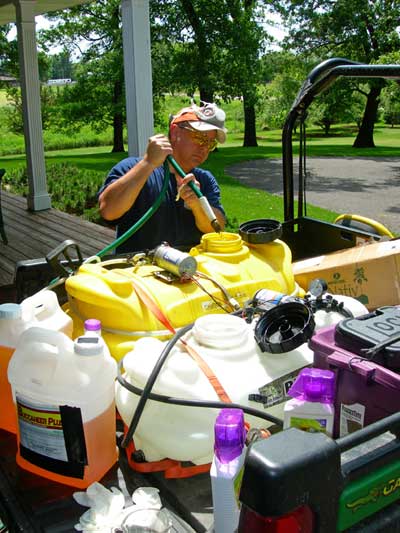 Try to get on top of these weeds when they’re first noticed, because they can spread quickly. Depending upon the weed variety, there may or may not be a selective herbicide available for the specific weed you’re stalking, so you may need to use a non-selective herbicide like Roundup (glyphosate). In this case, you’ll probably want to “spot spray” with a backpack sprayer or with a wand from an ATV rig.
Simply remove (spray/kill) the non-productive plants and leave or add productive plants. Oftentimes when you remove the noxious or invasive plants, valuable, productive plants will naturally fill the void. In other cases, you may need to plant something in the empty space before more weeds move in to fill the abyss.
If you have annual weeds in your perennials and mowing isn’t keeping them at bay, and you don’t want to or maybe there are too many to spot spray, here is where a tool like the GrassWorks Weed Wiper really shines. Many of these annual weeds will grow taller and faster than your perennials. So you set the rotating drum high enough to clear your perennials but low enough to saturate the weeds with a lethal dose of herbicide. There are many benefits to a Weed Wiper; you use far less herbicide because none is wasted, you get no drip or overspray. You get a better kill because the rotating drum applies chemical to a larger part of the plant, including the underside of the leaves where the plant is going to be easier to kill because it’s the weakest part.
This first one could also fall under the “weed control” category. If you’ve planted during the spring you likely have some weeds or grasses that have moved in since planting time. Some can be controlled by mowing. If you have perennials, they should be mowed several times during the growing season anyhow, unless the plants are stressed. If your clovers are strained you should not mow them, and in some cases actually let them go to seed.
It’s very common to have grasses move into a food plot. Grass rhizomes are unbelievably tough and can easily live through tillage. And since the rhizome is normally below the surface, herbicides cannot contact them until vegetative reproduction begins and the plant decides to peak through the surface.
A grass-specific herbicide like Weed Reaper, with clethodim as the active ingredient, will kill the grasses and leave your desirable plants (clovers, chicory, alfalfa, trefoils, etc.) unharmed. If you’re not using Weed Reaper, make sure that you use a crop-oil or surfactant so the herbicide adheres to the plant properly. Weed Reaper has the surfactant already incorporated, so mixing isn’t necessary. For more tips on killing weeds in your food plot, check out these 7 tips for weed-free summer food plots.
Water your Food Plots
When you think about how much a plot failure will cost with fertilizer, fuel, seed and your time, to me it’s a no-brainer to get a Big Sprinkler system. If you’re within a couple hundred yards of a water source, you’re in business. Even if you can’t reach all of your plots, wherever you can will be a huge lure come hunting season. These are commercial grade systems and get the job done in a hurry. I can remember years ago I tried to put together my own system by going to a home-supply store. I got it to work, but with the putrid pressure it would only cover about a 20-foot diameter. I laugh when I look at the 150-foot diameter of the Big Sprinkler system. Drought proofing your plot is insurance for the plot you worked so hard on and put money into.
Use Trail Camera Tactics for the Summer
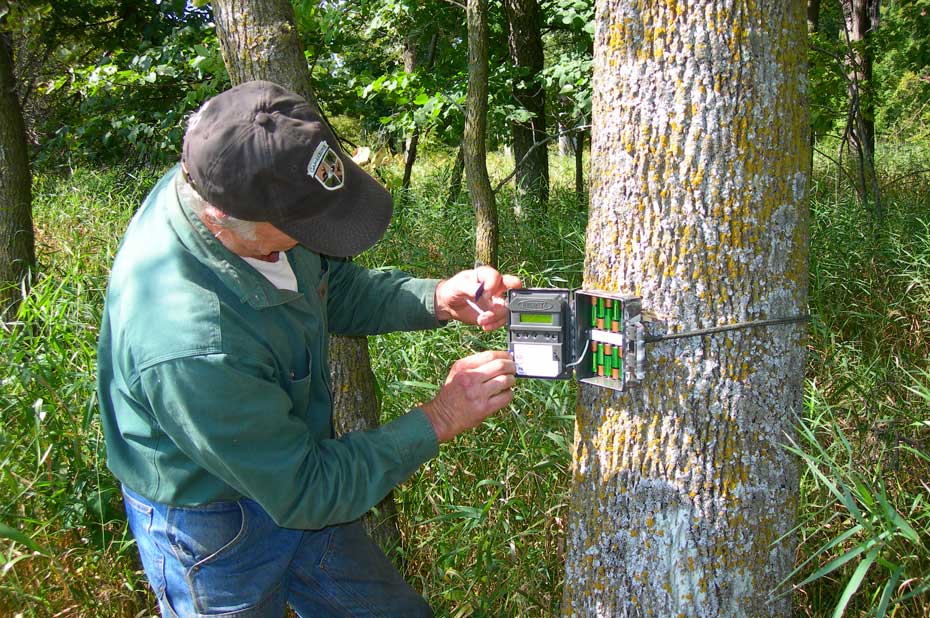
By now you should be able to tell your bucks apart. Antler growth should be sufficient enough to recognize individual bucks. I typically start getting serious with my cameras around mid-July.
One of the best places to capture deer photos with a trail camera is a feeder, but other good places are scrapes or mock scrapes, trail intersections, fence crossings, a hot oak tree dropping acorns, mineral licks and food plots. During early summer, mineral licks will probably be your best choice. You just cannot beat a BioRock site for gathering information on your density and buck to doe ratio.
I often have trouble with lots of images of nothing at certain camera sites, because I like to camouflage my cameras – more so hidden from trespassers than the deer. I get a lot of false triggers because the brush or grass that I use to camo the camera position will move and trigger the shutter. So you’ll be best off to spend some time removing any brush, grass or limbs that can move with the wind and trigger the camera. In most instances it’s best to point the camera any way but south, into the sun. This helps eliminate sun spots or glare during daylight.
If you’re setting up on a trail or crossing you’ll require different settings and positioning for the camera. Animals passing quickly challenge the camera to “wake up” and trigger before your subject is out of the field of view. This often results in empty frames or a lot of photos of hind-ends. To correct this problem, try to point the camera at a 45-degree angle to the trail or crossing. This keeps the animal in the field of view longer and should results in fewer blank frames or shots with only half an animal.
Collect, file and store this information. Whitetails are creatures of habit. Granted, it’s before the hunting season and because of habitat transformation, preferred food sources changing and testosterone soon surging through a buck’s body, things may change by the time hunting season begins, but this can still teach you a lot about individual animals, and in certain states you may still have time to catch them in their summer patterns before this happens.
Check out this video for tips on placing your trail cameras in the late summer!
Provide Summer Protein Feed and Minerals
Keep those mineral sites pumping nutrients into your herd and make certain you have what they need in the way of food. Soon they will be changing food sources to meet metabolic changes as they move from antler growth and milk production into high energy needs for pre-rut.
During July and August, and even maybe into the first few days of September are the most extreme, expeditious stages of antler genesis (sometimes referred to as antlerogenesis), with some larger bucks putting on several inches of antler each week, or in extreme cases, each day. During this time, it is best to continue pumping nutrients into them by keeping your mineral sites full and making sure you have high protein food sources like BioMass, Clover Plus and Non-Typical available for them.
During the summer months, whitetails seek out high protein foods like soybeans and perennial legumes like clover and alfalfa. Besides protein, this diet provides amino acids necessary for antler production and to help build muscle and store body fat for the upcoming rut. Sometime during late summer into early fall their nutritional needs change over to a diet rich in carbohydrates.
When bucks are finished growing their antlers and does are no longer nursing fawns their diet changes. If you’ve been glassing and watching whitetails in the legumes or maybe getting pictures of your big bucks there, expect a switch to happen. Big bucks that have been putting on the feedbag in the beans or clover during the last stage of antler genesis will suddenly switch to high carbohydrate foods like cereal grains (oats, wheat, triticale, etc.), acorns or corn. Rather than be surprised by this switch, be prepared and waiting for them at those high energy food sources.
Learn how you can use BioRock at to provide the minerals and protein your deer need.
Manage Summer Coyote Damage Control
Doesn’t it seem like, try as you might with predator eradication, coyotes never seem to be any fewer? I know it seems like that, but you absolutely can make a difference!
This probably doesn’t have a place in an editorial geared towards summer chores for the gamekeeper, but it’s important to pressure them whenever possible.
If you keep a continuous front against your coyotes/predators, you likely have more gumption than me. I like to choose my battles. I go after them hard during late winter by trapping and hunting, just before fawning and nesting, and then I like to set a few traps as soon as trapping season opens in the fall just to let them know I’m still around. It doesn’t seem like I’m winning many battles, but I do know a few less coyotes means exponentially more turkey poults and better fawn recruitment.
Begin Summer Deer Hunting Preparation
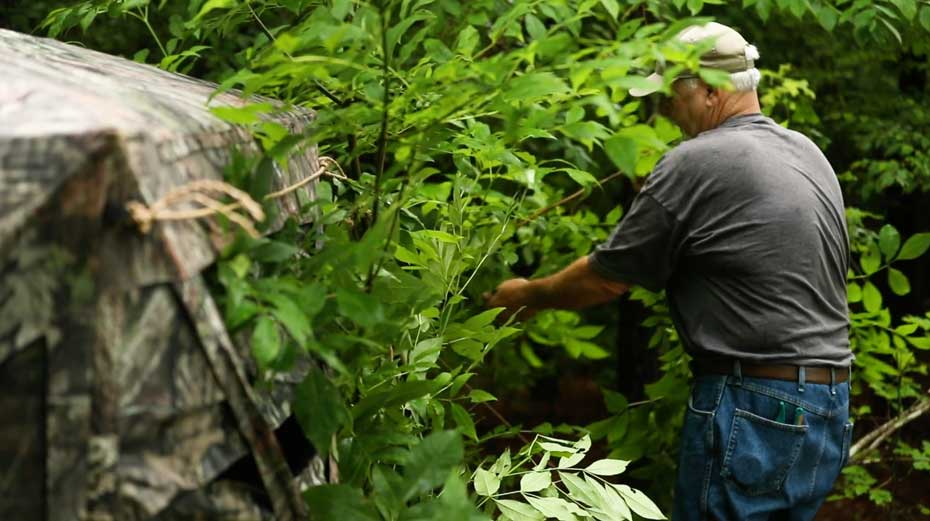
Late summer can be a great time to prepare for the upcoming hunting season by setting certain tree stands or ground blinds in place, trimming shooting lanes and creating and/or clearing approach and retreat trails.
Some ambush locations are selected based upon “MRI” (your most recent intelligence). Others may be known for months; for example on a funnel that is productive year after year, a food plot where you know the access points, or a ridge saddle that is always used regardless of the time or conditions. If it’s a spot that is known in advance of hunting season, my advice would be to get the ambush set up well in advance of the hunt so the animals have time to become accustomed to your new digs and the disturbance.
Along the same line as above, it’s often obvious when you come across an ambush site, even one that has been set up by a veteran. You can see where limbs have been cut or brush snipped to clear a spot for the stand or blind or for shooting lanes. You can see where leaves or grass has been matted down and other sign we leave behind when we prepare an ambush. I believe mature bucks also notice these changes. Completing the set-up well in advance of the hunt gives the vegetation disturbances and physical sign a chance to disappear.
Even if you believe they don’t notice the visual signs you’ve made, I am positive they DO notice the smells you leave behind at the site. Every time you touch an object it’s like you’re pushing your scent into the object for whitetails’ overpowering sense of smell to easily notice. Some would say that’s why they’re setting up their site well in advance of the hunt; however, if the buck you’re after shows up to the site and smells your human stench, I promise that you won’t kill him at that site three days later, three weeks later or possibly even three months later. Time heals some of the mistakes we make, but why let them know you’re coming? Scent Killer Gold, rubber boots and rubber gloves (trapper’s gloves) are your three most important tools to help reduce scent transfer.
Clearing and possibly mowing ambush approach trails is another good use of time during the summer. I used to be very finicky about this back when I was more physically fit. I wanted to be able to sneak to my site, climb the tree, nock an arrow and have the likelihood that animals would be bedded within 50 yards. Often they were. Now it takes a bit more with these old bones, but the last thing I want to do is alert a mature buck to a dude in a tree stand.
Each time in and out of the site I have a small pruning shear, and I try to snip every branch that might interfere with my approach. Not only to prevent unnecessary noise, but also to prevent scent transfer. You may have seen how whitetails “nose” every branch you’ve brushed up against when they’re on your same approach trail. Does, fawns and younger bucks may tolerate that small amount of indirect scent transfer, but mature bucks usually don’t take the chance.
Start Early-Season Food Plot Preparation
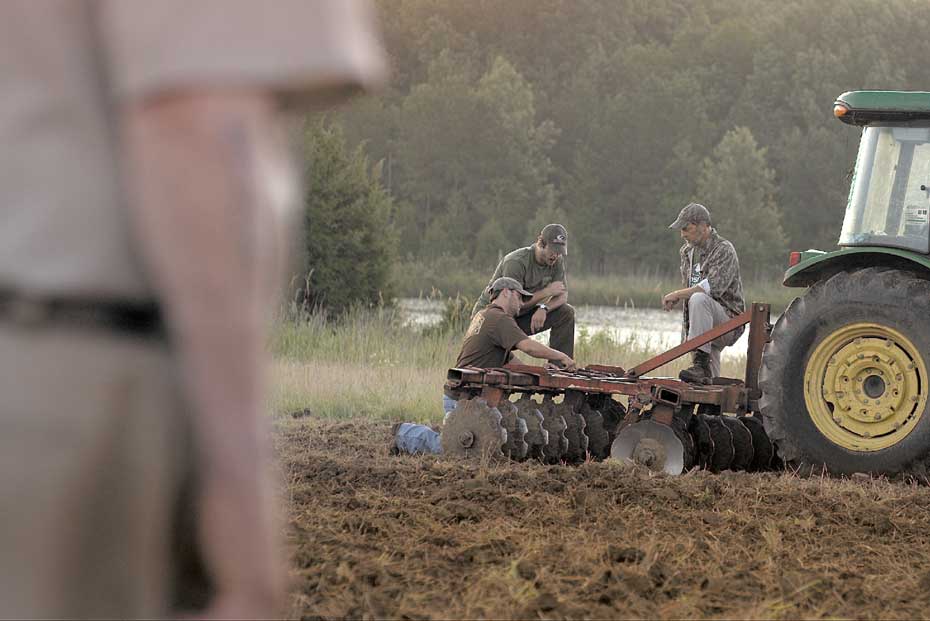
It’s not always possible, but I like to prepare a long time ahead of late-summer/fall planting sometimes a year in advance. My uncle has taught me much when it comes to crop rotation and the use of cover crops. He has a plan in place so that not only does the chosen crop assist and attract wildlife at various times of the year, but they are also usually high on the NRCS’s list of cover crops and plants that help amend the soil to benefit the following crop and save on fertilizer bills. Your local NRCS is usually happy to help with this.
I’m not yet that sophisticated, I’m still learning, but I do try to make sure I have ground selected and set aside for my late-summer/fall plantings and try to think of rotation in advance.
Make certain to have your soil tests completed. The best, easiest to understand, fastest and even least expensive soil test can be found on the BioLogic website. From my experience, if I place the soil in the mailbox on Monday morning, I get my results back via email on Thursday evening.
My late-summer plantings will typically include a long list of brassicas, with Deer Radish, Winter Bulbs & Sugar Beets and Maximum being at the top of the list. I try to get these planted during early to mid-July if I have ample topsoil moisture or a rain event is predicted. Note that in the North these can be planted over a month before your cereals are sown.
Cereal grains, like Trophy Oats and those in Outfitter’s Blend and Last Bite would also be on the list, along with Winter Peas. As opposed to the brassicas, these would be planted during early to mid-August near my home in Minnesota. There may be other crops that will be planted during this time, but those above make up the mainstays in my arsenal.
I have begun paying closer attention to my soil’s micronutrients. Most of us only apply micronutrients when our crops show signs that something is wrong, but we shouldn’t wait that long. As they say, “be proactive not reactive.”
These trace-nutrients are extremely important to our wildlife and also vital to our plants to ensure they’re able to utilize and transfer other nutrients efficiently – both macro and micro. Make sure you check these micros from time to time. You need to ask for this test specifically on the sheet you send in with your soil sample, and it will cost a bit more, but it’s well worth the small sum.
There is always something for a gamekeeper to do. This list is a perfect example of how being a gamekeeper is a lifestyle choice, not a “one and then you’re done” task. It’s a culmination of goals we’re always moving towards. Most gamekeepers would tell you it’s even more than that; it’s a never-completed mission of making the land better for you, your family and friends, and future generations.


