Are you missing the best photos from your cameras? The back half of summer is in sight and every hunter is getting ready to deploy their trail camera arsenal to take inventory on their herd or find the giant they saw last season. We can all operate our cameras but you may be missing out on some incredible photos because of one small oversight. Check out these tips and tricks below for maximizing your trail camera shots.
1) TRAIL CAMERA BASICS
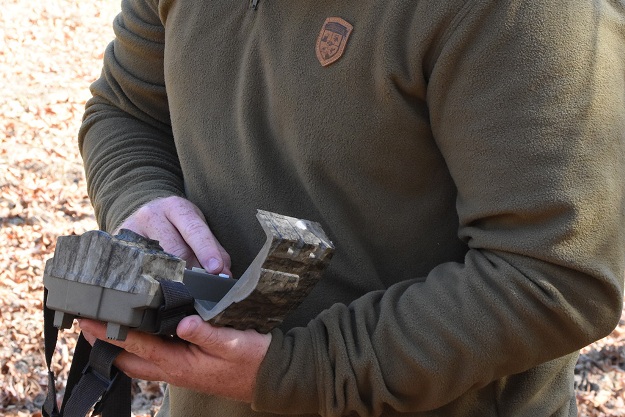
Try and point cameras toward the north for best lighting. This will also help cut down on false triggers and washed out lighting in photos. Use high quality batteries and memory cards. You don’t want to find a cheap battery has exploded inside your $500 camera. Clear the picture zone of brush or vegetation to cut down on false triggers and obstructed views of your deer.
2) HOW TO SET UP TRAIL CAMERAS
There are a lot of settings on trail cameras for different scenarios. Turn the sensitivity and picture frequency down on mineral sites or bait to avoid taking hundreds of pics of the same deer. On the flip side, turn up the frequency and sensitivity on trails, scrapes, and other areas where deer are traveling.
3) TRAIL CAMERA PLACEMENT
Try to have a trail camera strategy; don’t just hang them on random trees. Hang cameras at proper distance and angle to where you anticipate the deer to travel. Usually 8-15 yards is ideal for most cameras. Field edges, tree lines, and food/water sources are the key areas for the best game camera placement. Hang cameras at 45 degrees to these edges to increase the amount of time the deer are in the camera's detection zone.
4) GAME CAMERA MOUNTING TIPS
How high do you mount a trail camera? Typically around waist level is a good trail camera mounting height, but don’t be afraid to hang cameras high (6-7 feet) and angle them down. Although most deer don’t seem to mind the cameras, some older bucks and does do shy away from cameras mounted right in their face.
5) TRAIL CAMERA PROTECTION
How do you hide your trail camera? Use vegetation, leaves, and limbs from nearby plants/trees to place behind and around the camera to blend it in to the area. This will also make it less likely to be spotted by trespassers. The line of a horizontal camera strap sticks out in the woods full of vertical lines. Work in vegetation around the strap to hide it.
6) HOW OFTEN SHOULD I CHECK MY TRAIL CAMERA?
Use high capacity cards so you don’t have to check cameras too often. If you do start getting pictures of a good mature buck, you don’t want to intrude on his area by checking the camera every week and leaving behind scent that could encourage him to move.
7) HOW MANY TRAIL CAMERAS DO I NEED?
The more the merrier! A camera for every 100 acres is probably sufficient but it all depends on what your objectives are and the shape of your property. Be sure to keep a list in your phone of where you have cameras hung. It is easy to forget where you placed one when you have several to keep up with and start moving them around through the year.
8) WHAT IS THE BEST TRAIL CAMERA BAIT?
There are tons of products for this on the market. Sometimes it takes some trial and error to see what your deer really like. I’m a big fan of food plots, corn, acorns, chestnuts, and mineral licks like BioRock. It works everywhere I’ve been.
By implementing these tips, your trail camera can be one of the best tools when it comes to managing and locating whitetails. For more insight on setting your trail cameras, check out this informative article on “Do Trail Cameras Spook Deer.”


