How to Use Deer Trail Cameras

Wes Delks

trail camera

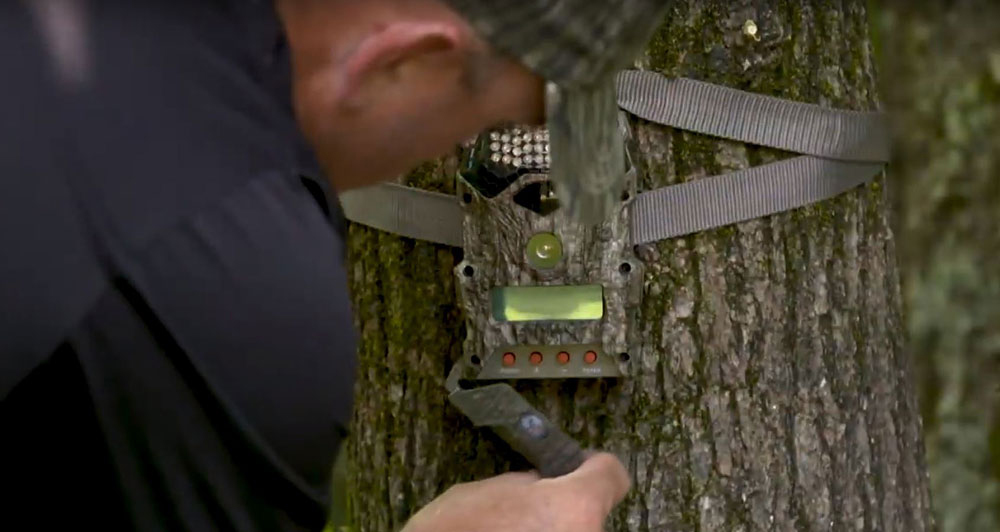
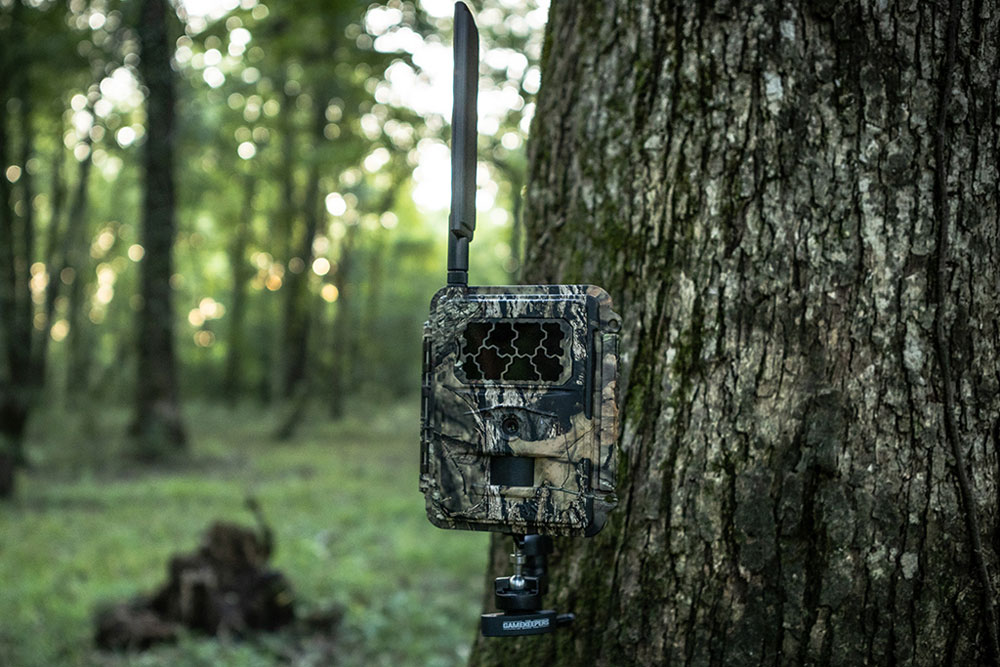
If you are a gamekeeper, you are most likely already using trail cameras. But, there is a HUGE difference between simply using a trail camera and knowing how to use that camera to glean the most valuable information possible - information necessary to effectively make hunting easier and management decisions more productive.

After discussing trail camera uses with Mark Kenyon, host of the Wired to Hunt Podcast, I believe there are five core trail camera uses for deer managers. 

  1. Age and score deer before hunting them to determine whether they will be a target buck
  2. Determine pre-season whether or not a general area is worth hunting 
  3. Find in-season patterns of individual bucks 
  4. Study annual patterns of individual bucks 
  5. Survey population demographics

SIZE UP YOUR BUCKS BEFORE HUNTING

Age and score deer before hunting them to determine whether they will be a “target buck.” Every time I check a trail camera I sift through the pictures, looking for big bucks. Examining each big buck picture, I determine whether or not I have already photographed it, or if it is a brand new buck. When I get a picture of a new buck I do my best to age and score the deer. You may want to begin a file on each buck, or maybe file your data for each trail camera location, but after a while and literally thousands of photos, you’ll be glad you’re methodical. If the new buck exceeds my standards, he becomes a “target buck.” I name all the bucks on my hit list to help stay organized. Some years, I may have three different typical eight pointers and naming each buck helps to avoid confusion in conversation with others. Although I target a specific age class, it is still important to be able to score deer based on trail camera pictures – antler score/size is one characteristic out of many used to ascertain age. What you estimate a deer's gross score to be may influence your decision to pass or harvest a particular buck.

KNOW IN ADVANCE

The purpose of many of my pre-season trail camera locations is to get an overview of the deer herd to help make decisions on which properties or areas within I'll begin hunting come fall. Although I am looking for mature bucks, I also want a general idea of what each property holds beyond just identifying shooters. When hunting season arrives, if I want to simply fill the freezer, take a kid hunting or pursue a target buck, I will have an area in mind for each. Pre-season is a good time to let your cameras collect information so that you aren’t wasting your time during season. Oftentimes a property that looks great when you drive by or when viewed from an aerial or topographical prospect, once you get the trail cameras working, it shows for some reason wildlife isn’t making use of the property (most often because of human pressure). Although there may seem to be high deer traffic in an area, pre-season pictures can let you know when the deer are there. They may not be getting to that particular spot until well after dark and you can shift your plans accordingly.

MRI (MOST RECENT INFORMATION)

game camera

No matter what stage of the hunting season, you can use current trail camera pictures to help make immediate decisions. During the season deer patterns will change for a multitude of reasons like changing food sources or shifting stages of the rut. Using trail cameras can help ensure that you are hunting a particular buck “where he is” and not “where he was.” In 2014, I hunted a nice main frame ten-pointer that spent the majority of the summer and early fall on the north side of one of my properties. There were a couple weeks in November where he went completely missing and I was worried that I may never see him again. Late season, after the rut, he showed up again but this time he was on the far south side of the property. I immediately adapted my strategy and changed hunting locations to capitalize on his new late season pattern. Bucks will shift where they spend the majority of their time throughout the season. Social pressures, food source changes, habitat transformations and other factors will cause small seasonal relocations to happen. Use your trail cameras to identify these changes and adapt your strategy accordingly.

STUDY ANNUAL PATTERNS OF INDIVIDUAL BUCKS

The biggest difference between studying “in-season patterns” and “annual patterns” is that in-season changes enable you to make immediate adjustments to your hunting strategy. But with annual patterns, once you have a specific buck’s movements known for a couple of years, you can plan on his next move and be there before him. Once you have an annual pattern on a buck, you are one step ahead of his game. Chasing an individual buck is like playing chess, by knowing his annual patterns you already know his next move. It’s been proposed by several master whitetail hunters that if you witness a major, seasonal move of a buck, where they seasonally change core areas within their home range, you should hunt that same corridor for two to three days before the date witnessed, the date it happened and two or three days after that date, the following year – expecting the buck to make the same seasonal move again.

SURVEY POPULATION DEMOGRAPHICS

If you are not already using trail camera surveys to obtain hard numerical data, you are missing out on the best way by far to monitor your herd. Learning about herd health and accumulating data to determine density, buck to doe ratio and age structure of your herd becomes easy with trail cameras. A couple years ago, I had a few cameras out on a property during July and was happy to see what I thought was a healthy herd that consisted of does, fawns and adult bucks, including a couple shooters. However, it wasn’t until I ran my trail camera survey during late summer and estimated buck ages for the herd that I realized I was completely missing 3 and 4-year-old deer on this particular property. How had I missed this?! I had lots of young bucks, but my shooters were 5 or older. By running a trail camera survey and taking the time to analyze this data I was made aware of a problem that I would have otherwise overlooked. 

In addition to gaps in buck age structure, trail camera surveys may draw your attention to other details. Maybe there is a growing need to harvest does. Maybe you have fewer fawns over years of trail camera surveys and it is time to start implementing a more intense predator management program. A trail camera survey is simply a great herd monitoring tool that can alert you to decisions that need to be made on your property.

checking game camera
 
To conduct a trail camera survey, follow the guidelines provided by QDMA. Their form is easy to use and can be found if you Google “QDMA Trail Camera Survey Computation Form.” Place one trail camera site per one hundred acres. Run the cameras for a 10 to 14-day period over shelled corn. Once the survey period is over, count the total number of bucks, total number of does, total number of fawns and the number of unique bucks. Plug these four numbers into the QDMA trail camera survey computation form to estimate deer density, sex ratio, fawn recruitment and buck age structure on your own. All of this information is critical for making harvest recommendations for your property.
 
For a complete picture of herd health, run the survey twice a year. A pre-season survey needs to be done once bucks have fully developed their antlers, so that they are easily distinguished, but before any fall mast crops effect the attraction of your bait pile. A post-season survey should be done immediately after season to maximize the number of distinguishable bucks before antlers begin to shed. 

Lastly, I use a trail camera survey to more intensely study herd health. I look at things like; how many ticks/insects are on the deer? How do body weights look on both does and bucks? Are there a group of late born fawns? If you are not already running trail camera surveys, I challenge you to try it out this year. It is a very easy process once you have done it once or twice and the amount of data that results is tremendous.
 
Conclusion

If you follow these five core uses for trail cameras you can turn your cameras from a recreational toy to a gamekeeper’s tool. Use your trail cameras to help make management decisions this season.
 

GK Mag subscribe

Latest Content