When out on the trail or in the wilderness, your backpack becomes your home away from home. It’s where you keep your food, your sleeping bag, your clothing, and all other essentials. We all know that an organized home is vital to everyday functioning and well-being; in the same way, an organized backpack makes life on the trail that much easier. Here’s the complete checklist for how to pack your hiking backpack.
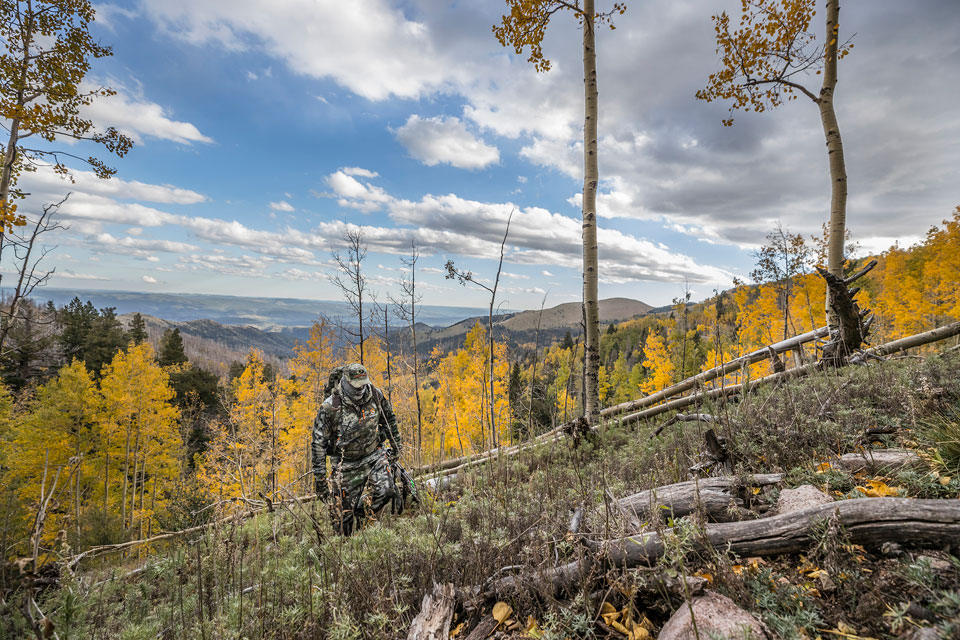
1. Think about your backpack.
It’s easy to buy the top-rated product online, but this approach fails to consider some important factors. If you already have a backpack or several backpacks, you still have to determine if your backpack will work best for your trip.
First off, it’s about comfort. Packing a bag always begins with the back that carries the bag, not the pockets and features of an item on a shelf. If you’re in the market for a new bag, most outdoor stores allow you to weigh and test a bag before you buy it, which can enable you to determine how the bag affects your gait. Look for a bag with a waist strap that can take the load off your shoulders and distribute weight to your hips.
Next, consider how much space you will need in your bag. A winter trip, for instance, almost always requires at least 30% more space than a warm-weather journey of the same length. Think about the location, weather, and duration involved in your trip and choose a bag that suits your gear space needs.
Lastly, think about how much water you need on your hiking trip. Many bags come equipped with a pouch that can fit a hydration bladder, which is a very convenient way to stay hydrated on the trail. However, you may need to bring more than a hydration pouch. Most backpacks feature side pockets that make it for easy extra water storage.
2. Learn how to use your bag’s features.
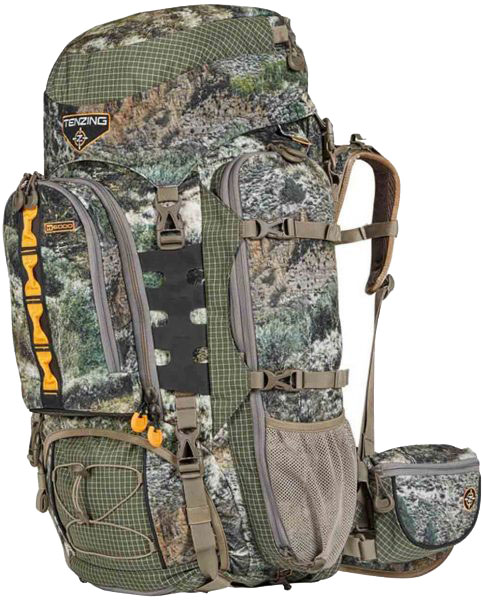 Once you’ve chosen your backpack, become familiar with its features and storage options. Obviously, what you put in which pocket depends on your particular trip and what you need to bring. However, here are some general guidelines.
First, the brain or the top portion of the bag is suitable for things you need often or quickly. Side pouches are good for water storage or snacks in waterproof packaging. Waistband pockets are great places to put smaller snacks, such as small bags of jerky or trail mix, as well as a compass and a few Band-Aids. Many larger backpacks feature a zippered-off bottom compartment, which is excellent for slightly heavier or bulky items.
Remember to pack your bag in a way that maintains your center of gravity. You want heavier and denser items to be closer to your back, to avoid being pulled off balance.
Prepare your bag for possible inclement weather. Some bags come with built-in rain covers while others don’t. However, you can easily pick up an inexpensive rain cover if need be. If you’re worried about a downpour soaking through your rain cover (it is possible), slide a garbage bag into your backpack and store all your gear inside. For a more expensive but more sustainable option, invest in dry bags.
3. Plan your clothing.
Of course, the names of pockets and features are useless without a good idea of what you’ll need on your particular adventure. What clothes you need determines how to pack a backpack.
While it’s impossible to give a list of universally required hiking clothing, there are some general basics. Running into inclement weather is a real risk, and it’s always a good idea to bring one or more changes of socks. Light base layers, rain jackets, and rain pants are also all items for your list.
Keep a spare change of socks in the brain of your bag and keep rain gear toward the top of your bag or in the front of a zippered-off bottom compartment. Extra layers and changes of clothes can go toward the bottom of your bag, just above any camping gear, as it’s unlikely you’ll need to reach them during the day.
4. Plan your food.
Make a list of all your food requirements for your hiking trip ahead of time to help you maximize on tastiness and avoid stress. Especially when it comes to longer hiking trips, opt for lightweight nutrient- and calorie-dense foods.
Bring energy-boosting snacks that can keep you going in between meals. Food is best in the middle or toward the top of the bag for easy access, just under your rain gear. However, waistband pocket snacks are never a bad idea.
5. Don’t skimp on emergency gear.
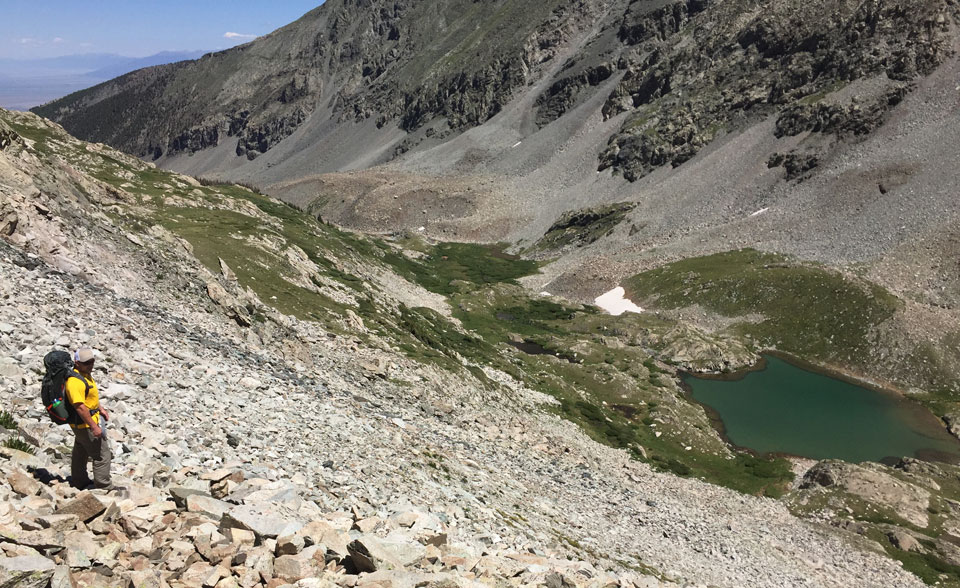
As nice as “more beer and less gear” sounds, it really is a bad idea to skimp on emergency equipment. Stash some chocolate and pack your beer, but leave space for a complete wilderness first aid kit, including an Israeli bandage, triangular bandage, spare water for rinsing wounds, and normal first aid kit essentials.
Consider including an emergency bivvy bag and emergency shelter for any trip that’s more than a few hours out on an easy trail if you suspect the weather may turn or if you’re unfamiliar with the area. Keep these bulkier emergency items in the middle of your bag and store your first aid kit near the top or in the brain of your bag.
6. Remember to include a tent, sleeping bag, and roll mat.
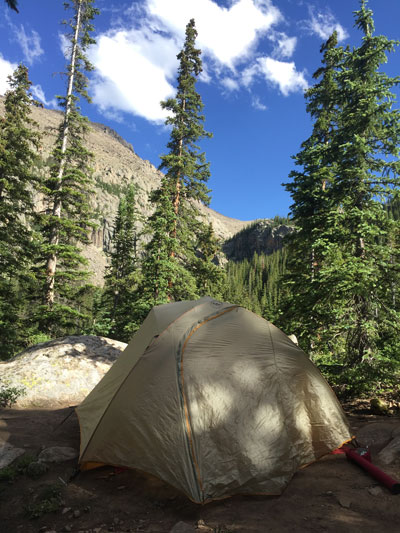 Of course, if you’re camping, pack your sleeping bag, tent, roll mat, and any camp kitchen supplies you may need. These usually fit best at the bottom of your bag. If you have a zippered-off bottom section, store them there.
7. Pack your bag in order.
Once you’ve compiled your full, personalized packing list for your trip and have gotten your gear together, it’s time to pack your bag. Pack your bag before your hiking buddy is banging on your door and impatient to get going. That way, if you want to change your packing plan or make adjustments, you can. This can also help you avoid overpacking and allow you to question what you need and what you don’t.
Last Word
Hiking is an adventure where your backpack becomes your home away from home. As such, a little organization goes a long way in helping you feel more comfortable. Remember, it’s far more important to have a plan and a few good lists than to have a flashy, uncomfortable backpack with all the bells and whistles. What goes inside the bag is more important than the bag itself, and it’s best to stick with a functional bag that doesn’t get in the way of your adventure.


