Marty Fischer | Originally published in GameKeepers: Farming for Wildlife Magazine
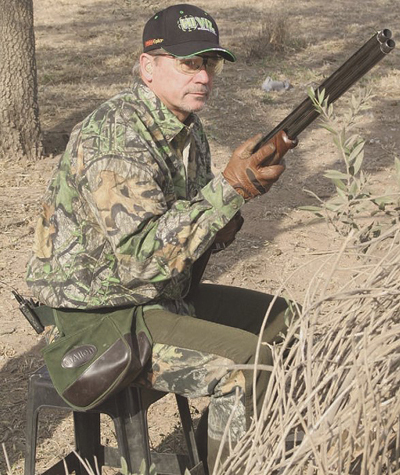
movement. Here the author is set up to take a flock of wild
pigeons in Argentina.
As a professional shooter and wing and clay instructor with more than 30 years of coaching experience, it never ceases to amaze me how inconsistent some shooters can be. These inconsistencies take place both, on clay targets and live game, and in many instances, the same fundamental mistakes cause the problem.
Being a good wing shot really comes down to having the basic shooting fundamentals of "shooting flying" firmly in place. Assuming you have a properly fitted shotgun, the basics you need in place are a proper visual focus on your target, a crisp and concise gun mount, a proper insertion or starting point for the muzzle to begin the shot sequence, and proper lead-picture and follow through. There are a lot of meat and potatoes in the preceding sentence, so let's break down those shooting fundamentals one at a time.
Having a gun that actually fits you is more important than you might think, and measuring for fit is much more than simply putting the stock in the crook of the arm and seeing if the trigger finger matches up with the trigger. Most mass-produced shotguns are made to fit a person around 5'10" tall with a medium build and a 33" arm length. If you don't fit that mold, you might want to visit a competent gun-fitter to get your gun shooting where you look.
In my mind the single most important element of successful shooting is how you use your vision to focus on the target. The eyes are the key to shooting everything when it comes to hitting a speeding bird or clay target. A proper locked focus on the bird of your choice will help slow everything down, since a hard focus on the bird lets you move as it moves. Concentrate on picking a bird and staying with it through the shot.
Since many hunters don't shoot clays in the off season, their shotguns get cleaned and put away when hunting seasons end. A week or so ahead of the next season they take the gun out of storage. Some shoot a few clays, while others just go hunting. Without good mount mechanics, they often struggle. I am here to tell you that either shooting clays in the off season or doing gun mount practice at home will really improve your shooting.
A proper gun mount is needed for the shot to be successful, so knowing how to properly mount the gun is critical. The mechanics of a mount are simple. Both hands work together as the forearm hand pushes the muzzle to the target and the trigger hand lifts the stock to the face. Note that I said “bring the stock to the face” and not the shoulder. If the gun is properly mounted, it will stop on the shoulder since it has nowhere else to go. Try to mount the gun with no noticeable dip in the muzzle as it comes up to the face. If you can do this, the mount is proper. A quick dip or flip of the muzzle indicates that the trigger hand is working too much.
A perfect gun mount is a push to the target with the front hand and a lift to the face with the trigger hand. With practice, that motion becomes natural. The more you do it, the more muscle memory you develop.
Once you can mount the gun properly, being able to focus on the target and move the muzzle into position to execute the shot take place more quickly. You will want to manage where you insert the muzzle relative to the target in flight so there is a consistency in how you shoot. Keep in mind that if you start the gun in a different place relative to the bird on every shot, you will have to make up ground quickly if that insertion was wrong.
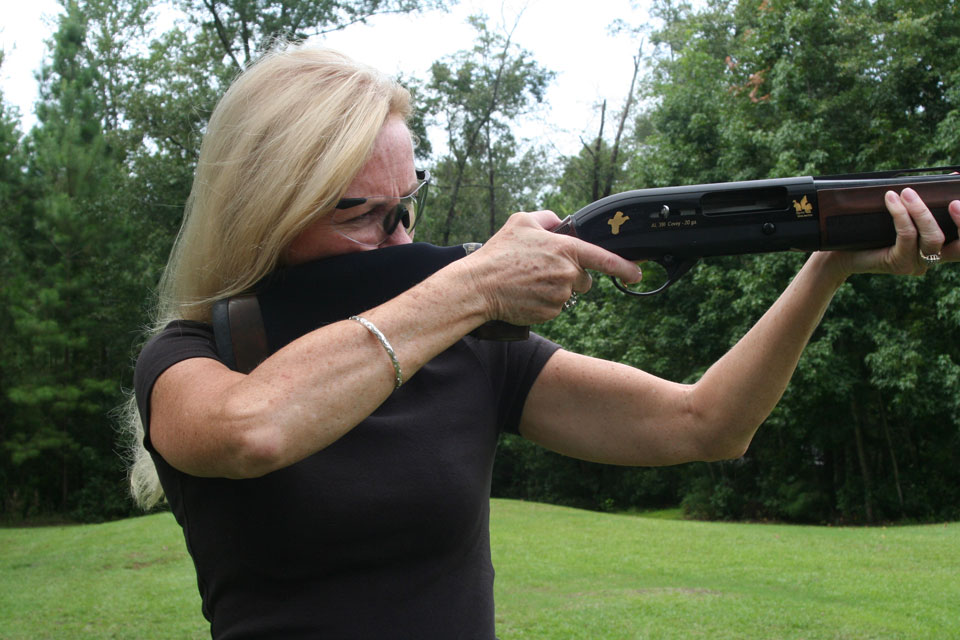
I like to pick a bird and push the gun to it. Once the gun is at the bird, I can simply move the muzzle forward to my intended lead picture. Without stopping the gun, I squeeze the trigger while following through with the swing. It's a simple concept, and realizing that if the bird is moving, the gun must also move.
There are a number of different shooting styles that work well on birds. Most upland bird hunters bring the gun through the bird from behind since the unknown direction of a flushing pheasant, quail or grouse invariably puts the gun behind from the start of the shot. This style is known as swing-through or pass-through and it is really effective on flushing birds. Since the angle of the bird is usually quartering away or straight away from the shooter, the angle of the shot means that little lead is needed. In most instances just getting the gun to the side of the bird's direction will get the job done. Just make sure not to stop the gun.
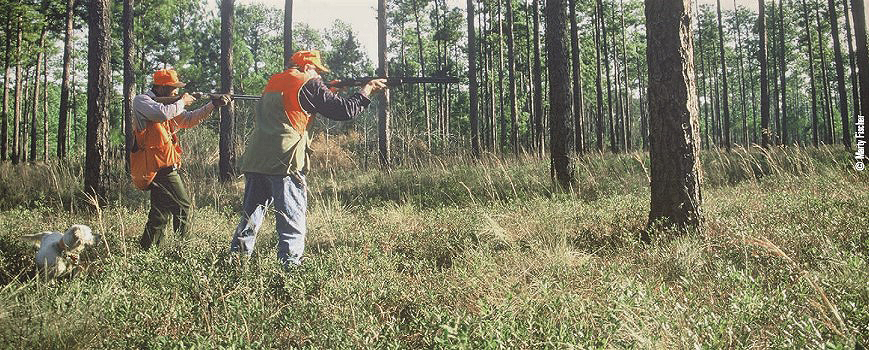
The most forgiving style for shooting birds is to bring the gun up to the head of the bird and move the muzzle away from it to acquire a lead picture. Crossing and passing birds to take a lead, and starting the gun on or just in front of the bird makes getting that lead picture much easier. One thing is certain, if you are chasing the bird to get to your lead picture, the result will most certainly be a miss.
Keep in mind that a lead-picture for wingshooting is all about geometry. As the angle of presentation increases, the required lead also increases. The greatest lead needed for a given speed and distance will be on birds that are straight overhead or crossing from left to right or vice versa. The process is really simple. You just have to believe that shooting in front of a bird will actually allow you to hit it.
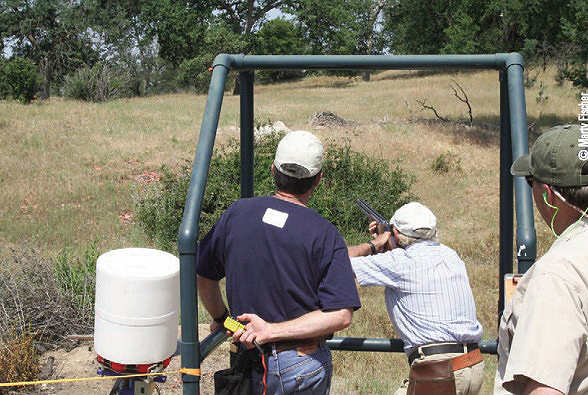
A good gun fit and mount, proper focus, insertion point and lead picture acquisition are the basic shooting fundamentals you will need to become an accomplished shot in the field. These skills can be developed through practice at home and on the range. So the next time your favorite hunting season comes to a close, try extending that season by shooting some clays and working on gun mounts at home. I can assure you that you will put more birds in your bag if you do.


