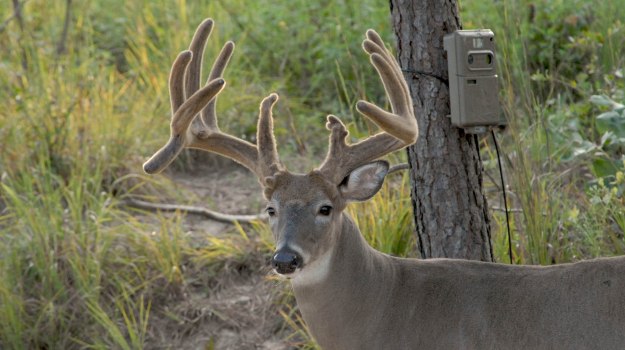
Editor’s Note: Dave Parrott of Louisville, Kentucky, one of Mossy Oak’s pros, decided he could build a better trail camera. Parrott got involved in building trail cameras when the switch was made from 35 millimeter cameras to digital cameras. Because digital cameras ran $500 or more when they first were produced, Parrott decided he could build a better and less-expensive trail camera, if he built it himself. He became fascinated with what trail cameras could do, and what he could learn about game movement with the trail cameras. This began his lifelong obsession with developing game cameras and learning more-efficient ways to use them.
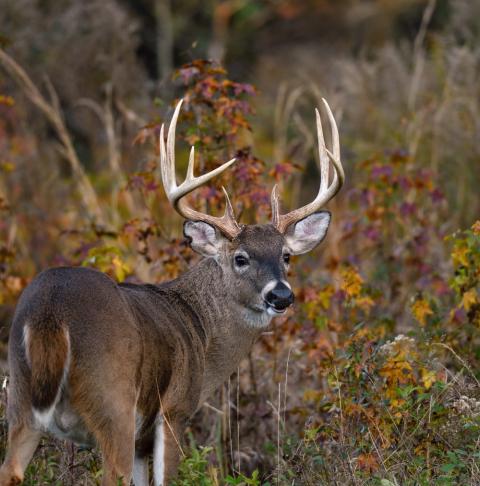
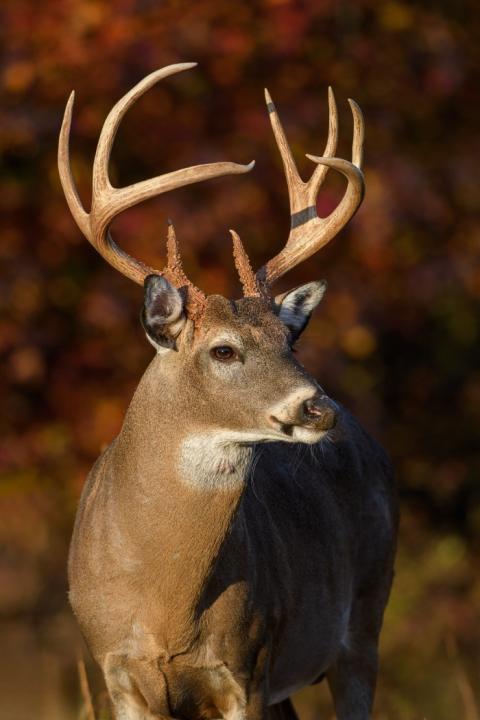
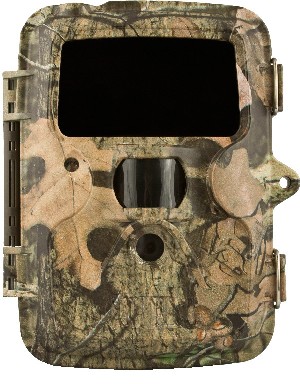 I no longer build my own trail cameras. One of the reasons I like the DLC Covert cameras is they come with a built-in viewing screen. So, once I hang my camera, I take a picture to try and see what the camera sees. Many people will just hang their trail cameras, step back from the tree and say, “That looks good.” They do this without even seeing what type of coverage the camera angle has. This reason is why many people get pictures of only half a deer. Or, the camera is aimed too high, and they have sun glare on their pictures. If the camera is too low, you’ll get a lot of raccoon and turkey pictures. But, I want my trail cameras to photograph deer. So, the rule of thumb that I use is that I want to get in front of the camera about where I think the deer will show up and make sure that the camera photographs from my waist to my knees. Then, I tilt it up just a little by putting a stick underneath the camera. What I’m trying to do is keep the raccoons and the turkeys out of the sensor range of the camera. Using this technique of mounting my camera, I get more pictures of deer and big game animals and fewer pictures of turkeys, raccoons, skunks and possums.
Day 1: How to Fight the Biggest Enemy of Your Trail Camera
Tomorrow: ProStaffer Dave Parrott Says Don’t Buy Cheap Batteries for Your Trail Cameras


