By Beka Garris
Theirs is nothing like the smell of damp earth
And plants as you step inside a greenhouse and inhale every scent that is spring. I look forward to it every year, detouring every trip in town to whatever local feed store I find, just to look at plants. I love to garden and plant things…and to be honest there are worse addictions.
In past years I have spent quite a few dollars buying plants to stick in the ground when spring planting finally rolls around. My vegetable and flower gardens are always a thing of glory, and it’s worth every penny to me.
However, the past few years I have preferred to start at least some of my plants myself, from seed. When I have the extra time, in late February to mid March, I start planting my vegetable seeds indoors in little seed trays and pray I can keep them alive until the end of April.
I have had great success with starting my own seeds, and I try to use minimal spendy equipment as the whole point is to save a few dollars. I’ve also found that starting my own seeds equal hardier and healthier plants.
When to Start Vegetable Seeds
The first step to starting your own seeds is to figure out when you should be starting them. All (or most) seed packets have a start date on them that will read “start by X amount of days before last frost date” or something similar.
You can simply look up your planting zone and the estimated last frost date by doing a Google search or looking in the farmers almanac. Most estimated frost dates are accurate within a few days, however it’s not a hard rule.
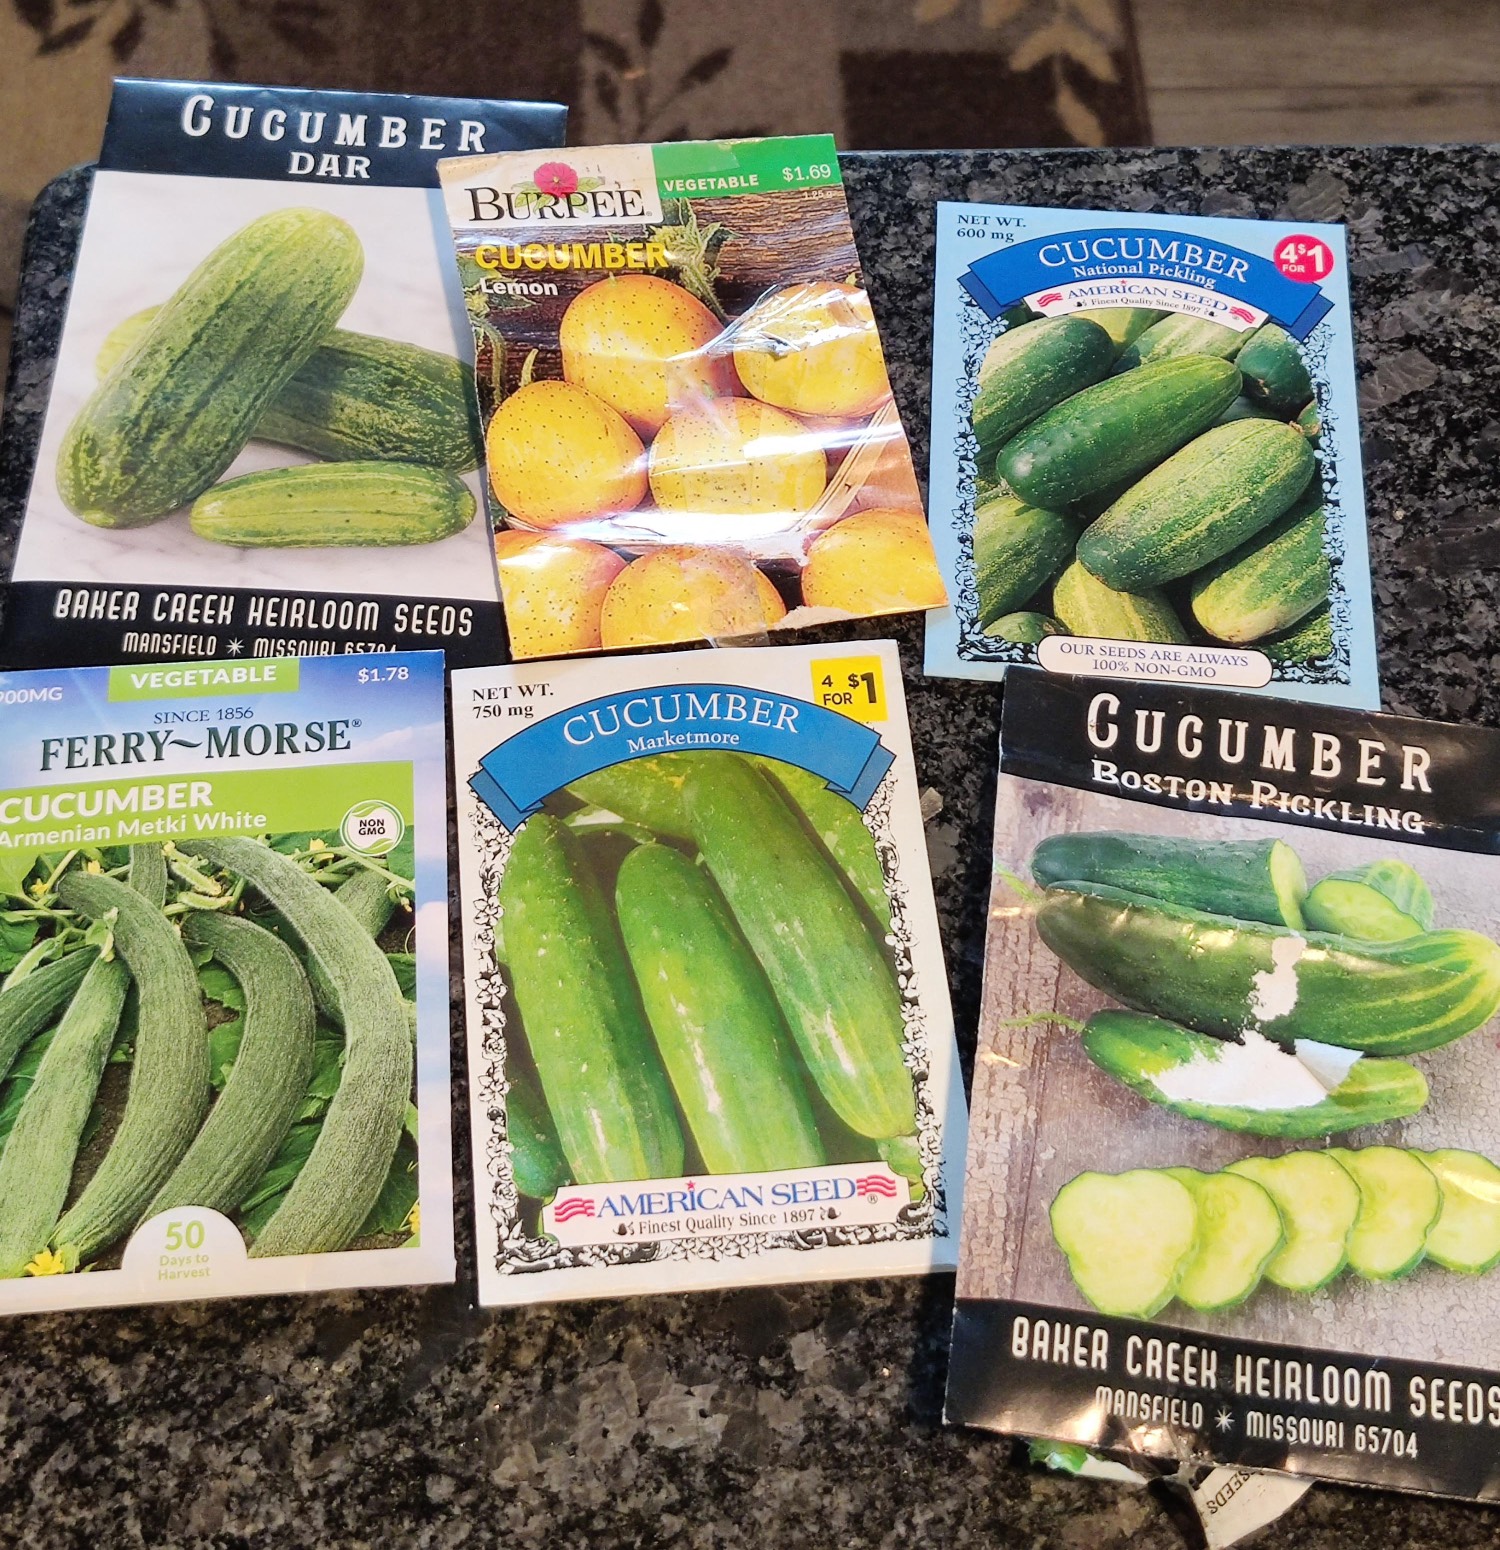
Cold weather plants such as broccoli, cauliflower, lettuce and cabbages can be planted fairly early as they are very hardy. Certain plants such as peppers take longer to germinate and grow big enough to be put into the ground, and some such as cucumbers and tomatoes are fairly fast. If you’ve never done seed starting before, I recommend starting with cucumbers and tomatoes. Keep in mind that all your information will be on the seed packet, so save the packet if you’re worried you’ll forget the information.
What You Need to Start Seeds
The first thing you'll need is some soil and something to start your seeds in. I’ve used everything from solo cups with holes poked in the bottom to start seeds in, to recycling empty toilet paper tubes into seed starters. The most crucial thing is to have good drainage. While you can certainly use what you have on hand, my favorite so far have been reusable plastic seed trays I found on Amazon. Many feed and farm stores carry them as well. They have vented liners for drainage and come with a little clear greenhouse lid to speed up germination. Once you transplant your seedlings to bigger pots, you can wash and save the trays.
I usually use a bag of seed starting soil, but you can really use any good soil, even from the ground in your backyard if you know it’s clean. Keep in mind using soil from outside means you’ll probably have some other wild plants and grass in with your seedlings.
Once you fill your seed trays (or whatever you chose to use) with soil, spray them down with some water until the soil is damp. Add more soil if needed, then plant your seeds according to the seed packet.
Many people utilize heat mats, grow lights, or small greenhouses to get their seeds to grow faster, however I like using a sunny windowsill the best. It seems to result in hardier plants, and it’s easier to “harden” them off before planting them outside.
Once You Get a Sprout
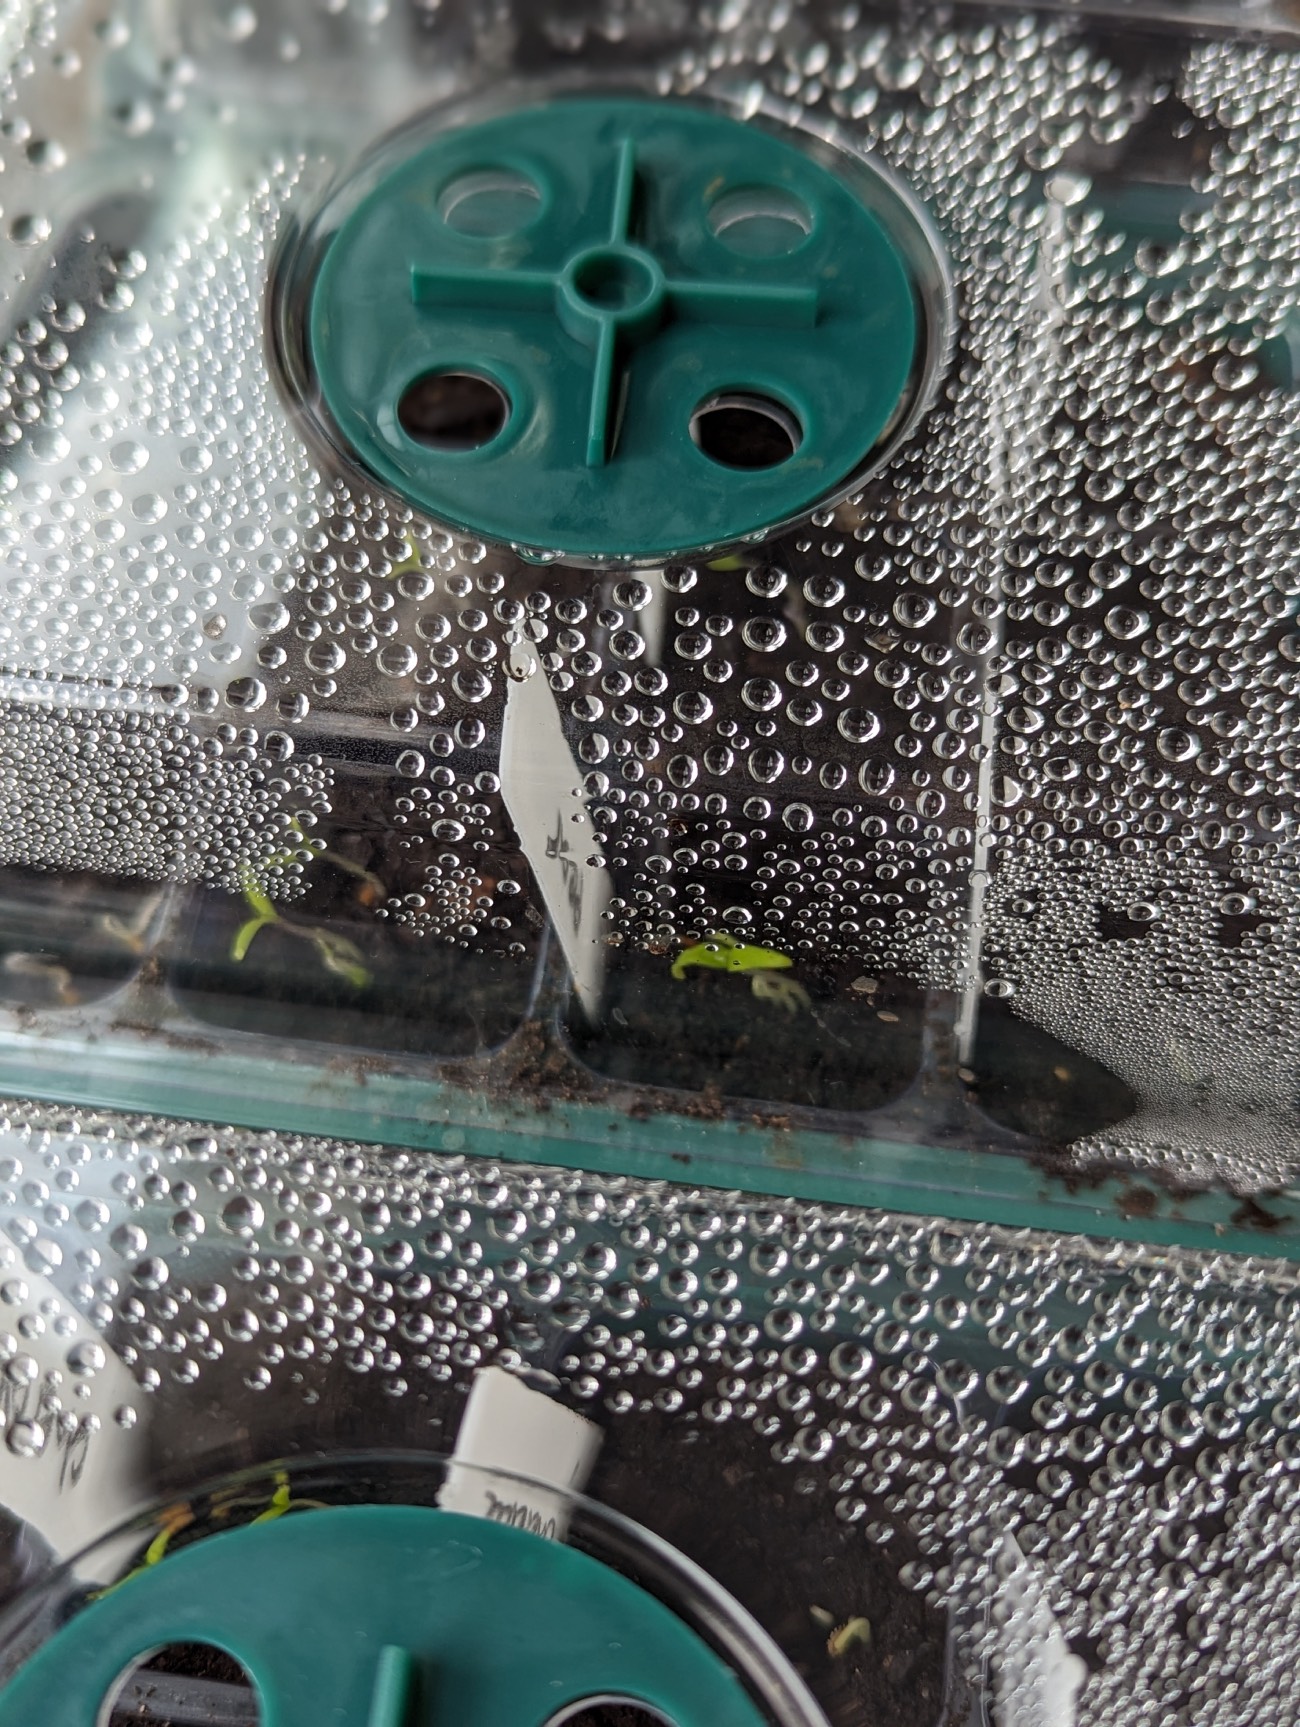
Once your seedlings have sprouted, remove any clear cover from on top of them. Leaving it on will result in too much moisture and possible mold and rotting.
Water your plants only as needed, keeping the soil slightly damp but not too wet. Try to avoid watering the plants themselves, and instead water the roots and soil.
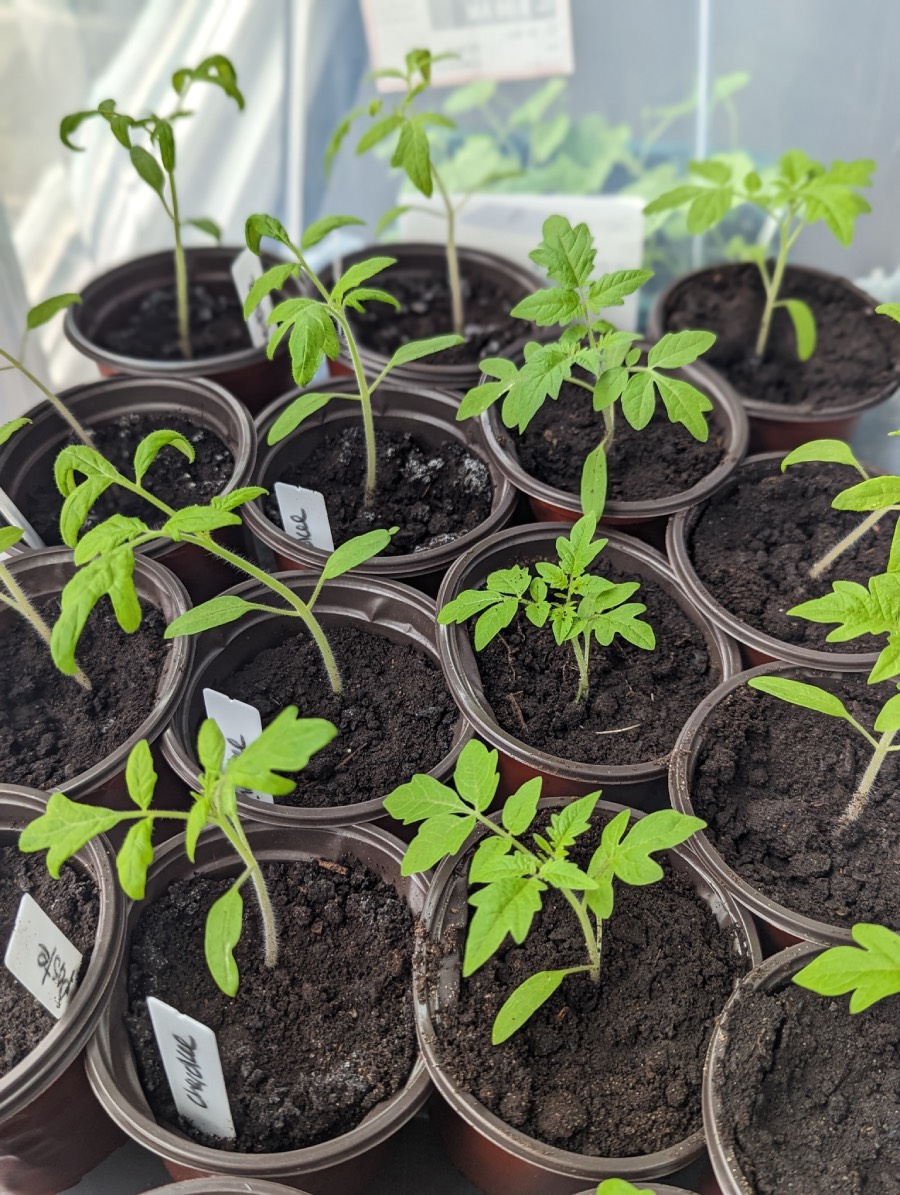
Once your plants have grown for a few weeks, most of them will likely need to be transferred to a bigger container to allow the roots to grow and expand. If you planted your seeds in bigger pots such as solo cups or similar size, they will probably be fine until you put them in the ground. However, smaller seed trays will need to have their plants transferred to something larger at some point.
You’ll want to make sure the pots are at least 3 inches wide across, but I prefer 4 inches or more. Repeating your previous planting checklist, fill the pots with damp soil and poke a hole in the middle to place your plants in. Then, carefully transfer your seedlings to their new homes. If your plants are looking a little leggy and falling over, plant them deep in the soil up to their first set of leaves. This is particularly helpful with tomatoes and will give you bigger and stronger plants.
Tip: a clear plastic tub without a lid is a great way to store your plants. It’s easy to move them around if needed, and sunlight can still get to them even though they are contained.
Harden Your Seedlings
Once you are a few weeks from putting your plants in the ground, you’ll want to start to harden off your seedlings. This means you will want to acclimate them to the outdoors.
Starting in a slightly shady area, set your plants outside for a few hours every day and slowly increase the time over the next few weeks. You ultimately want them to be able to withstand being outside all day as that will be their new permanent home. You’ll want to keep a close eye on your plants and you may need to water more frequently as the sun will be stronger than indoors.
This is my least favorite part of seed starting, as often my plants go through a little bit of a shock and look sad for a few days. But ultimately, they pull through and I’m rewarded with thriving plants and a beautiful garden.
Transferring your plants to the garden is pretty self explanatory. Carefully remove them from their pots and plant them deep in the earth. Cover the roots, water them well and if you feel the need you can also give them some fertilizer at this point.
Some plants go through shock after they’re transplanted, meaning they may look a bit wilted and sad for a few days, but most plants will recover nicely. My rule of thumb – always plant more than you need!
I’ve already started way too many tomatoes this year, and a new vegetable – cucamelons. It’s been enjoyable to see little bits of greenery on my dining room table, a promise that spring is just around the corner. And like I say every year, this year my garden will be the best one yet!